An Introduction to Autofocus for Underwater Photography
As digital cameras continue to impress with larger megapixel counts and crazy video capabilities, the improvements in autofocus capability are often the unsung heroes.
Knowing the basics of how your camera’s autofocus works—and how to best utilize it given a specific shooting situation—can make all of the difference between nailing the shot and having an out-of-focus mess. In this article, we’ll break down the basics of your camera’s autofocus and the different modes available.
How Autofocus Works
Before delving into the different types of autofocus modes and points, it’s best to start with how a DSLR works to achieve proper focus. There are two types of autofocus: passive and active. For the purposes of underwater photography, passive autofocus is the go-to way your camera will determine proper focus.
Passive focus uses either/both “phase detection” and “contrast detection” focus points to achieve results. Contrast detection is the more common method and searches for the sharpest point of contrast in the image. Phase detection is a bit more advanced and uses the light that travels through the lens to find focus, which tends to be more accurate and faster. However, it’s an expensive technology that is not used commonly in compact cameras. Most DSLR and mirrorless cameras offer dual phase and contrast detection focus.
Most DSLRs and advanced mirrorless cameras feature dual phase and contrast-detection, which helps achieve accurate focus even in tough conditions
Autofocus Points
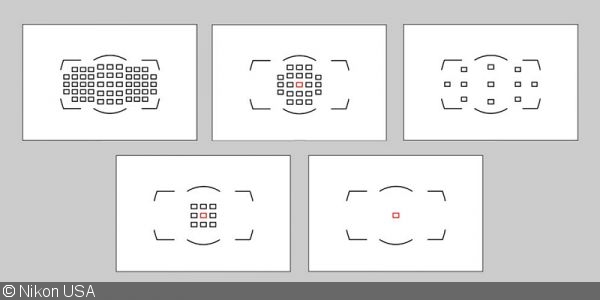
Now that we’ve covered how your camera works to achieve autofocus, it’s important to understand the types of autofocus points utilized by these methods. Generally, having more autofocus points is preferred, as it allows you to more accurately select a single autofocus point and helps the camera more accurately track moving subjects through the frame.
In addition to the number of autofocus points that your camera features, it’s also important to note the type of each point—either vertical or cross-type. Vertical autofocus points detect contrast in a single dimension—the vertical line to the camera. Cross-type autofocus points detect contrast both in horizontal and vertical planes, making them faster and more accurate.
In all likelihood, your camera will feature both vertical and cross-type autofocus points. For example, if two cameras have 51 autofocus points in total, but one features 30 cross-type autofocus points and the other only has 15, the former will likely have better autofocus performance.
Illustrated above, you can see that cameras have a variety of number and configurations of focus point from a single point to 51 points (and beyond)
Autofocus Modes
Most cameras have several autofocus modes, the benefits of which are situational. There is no autofocus mode that is automatically better than another. How your camera autofocuses on a stone-still nudibranch is different than following the action inside of a baitball.
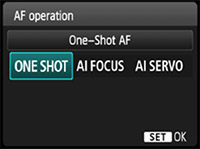
1. Single Focus Mode: Denoted “AF-S” on Nikon cameras and “One-Shot AF” on Canon, this mode has the camera lock focus when you half-press the shutter. Once you do this, the focus point will remain locked until you either fully press the shutter or release it and half-press again. In many cases, if the camera can’t achieve focus or the subject moves, you will not be able to take the image by fully pressing the shutter.
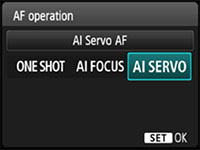
2. Continuous/AI Servo Mode: Denoted “AI Servo AF” on Canon cameras and “AF-C” on Nikon, this mode is best used for fast action or moving subjects. When you half-press the shutter, the camera will achieve focus—however, if the subject moves, the camera will continue to track it and change focus while you keep the shutter half-pressed (or use a dedicated AF button) until you fully press the shutter to capture the image. Because the camera is constantly tracking the subject, this mode uses up significantly more battery life.
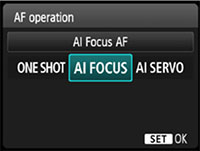
3. Hybrid Single/Continuous Mode: This mode is offered on newer cameras and is beneficial because it switches automatically between the single and continuous focusing modes. So, if you’re photographing a still macro critter, it will use single continuous autofocus to save battery and produce an exact focus point. However, if the camera detects the subject moving significantly, it will switch to continuous mode.
Autofocus Area Modes
In addition to the autofocus modes, your camera also offers different “area modes”—from a single autofocus point selected by the user to a complete 3D-matrix determined by the camera. Here are the ones most useful for underwater photography:
This is how the different autofocus modes are displayed on a Nikon DSLR. Consult your camera's manual to discover how they are represented
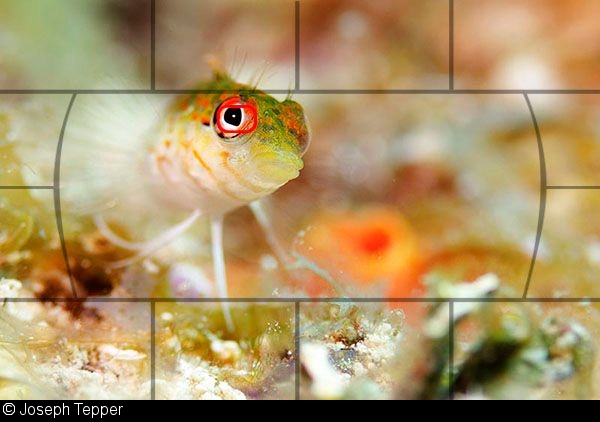
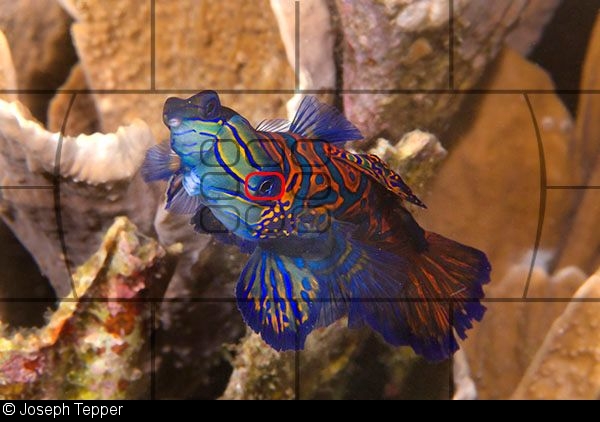
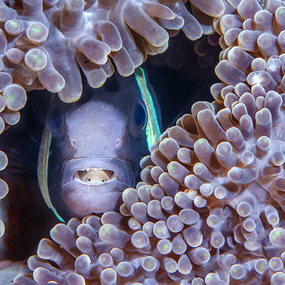
1. Single Point AF Area: With this area mode, you will select a single autofocus point for the camera to lock in on. Use your control dial to go up, down, left, or right, until you have the point you want. Cameras with more autofocus points will allow you more specific areas in the frame to choose this single point. This choice is best used for nailing focus on an ultra fine detail of a still subject—like the eye of a macro critter.
Single point autofocus is useful for zoning in on a particular detail on a still subject, like the critical focus point on the eyes of this fish
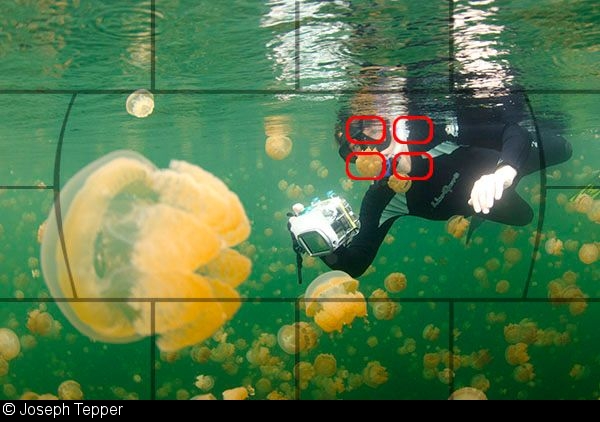
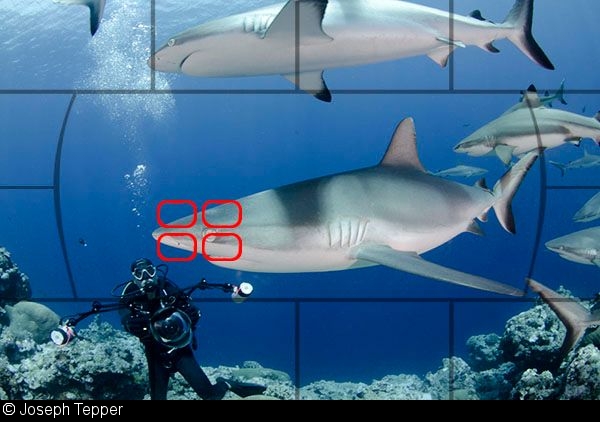
2. Dynamic AF Area: With this mode, you still select a single point in the frame where you want the camera to focus. Unlike with single point AF, however, in this mode the camera will use nearby focus points to track the subject if it moves. Some cameras even have the ability to select the number of focus points included in the area, from just a few (say, 5 points) to a much larger area (say, 51 points). This is a good mode for most wide-angle shooting scenarios.
Dynamic AF area works well for subjects that are moving. While you are still able to set where in the frame you want the focus to be, the camera can track the subject with nearby AF points
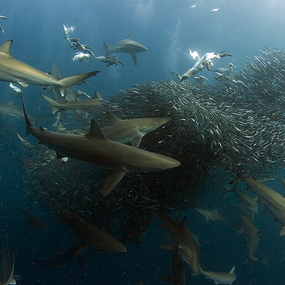
3. Auto AF Area: This is the most automated of the autofocus modes. Here, the camera selects the exact area it wants to focus on. Although the capabilities of this mode have improved vastly in recent years, the low light, low visibility and strangeness of the underwater environment can prove challenging for even the most capable autofocus system. The only instance where this may be a good choice underwater is in a fast-paced situation where you won’t be able to predict where the action is coming from.
Auto AF area is useful in action-packed situations where you don't have the time to thoughtfully position the autofocus point, such as the shark dive pictured above
Final Thoughts
Your camera’s autofocus is a wonderful thing. The increasing speed and accuracy in autofocus systems from compacts to mirrorless and DSLRs has helped greatly reduce the number of out-of-focus subjects in underwater photography.
Hopefully, this introduction to autofocus capabilities and modes will give you a good idea about selecting the right settings on your camera—or even choosing the right camera in the first place. By taking control of your camera’s autofocus and combining its capabilities with thoughtful composition, you can create visually stunning images.
RELATED CONTENT
Featured Photographer




 Antarctica


