Cold-Water Shipwreck Photography
By Larry Cohen
Shipwrecks are visually fascinating time capsules lying under our lakes, rivers and oceans. Photographing shipwrecks is challenging, and an image-maker has to use every technique in their repertoire. Photographing wrecks in cold (less than 50 degrees Fahrenheit or 10 degrees Celsius) and often deep water adds numerous challenges both in terms of diving and photographic technique. This guide breaks down the best tips and techniques for capturing chilling images of cold-water wrecks.
An Introduction to Cold-Water Wrecks
While the majority of recreational divers will only encounter wrecks in tropical waters, the fact is that cold-water wrecks are numerous. The United States’ Great Lakes are the resting place for more than 6,000 wrecks. This means you don’t have to fly halfway around the world to photograph a historic wreck—one might be just a short drive away in a lake or quarry.
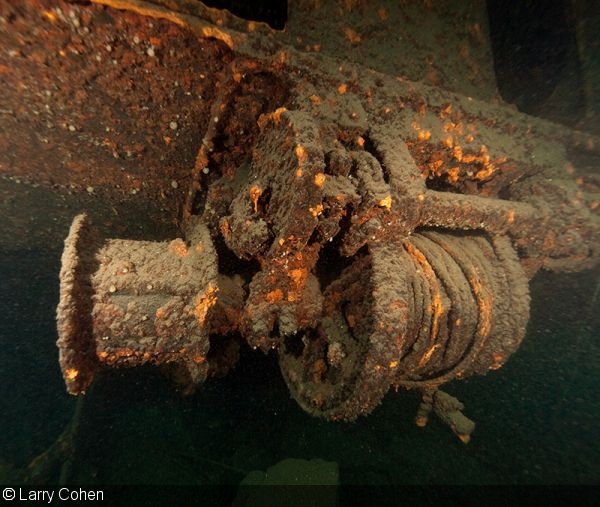
On top of their sheer quantity, cold-water wrecks are often better preserved than their tropical counterparts. Extremely cold water dramatically decreases the decomposition rate of wrecks, in terms of decay and corrosion. Many cold-water wrecks are also found in freshwater and low salinity environments, which further preserve their original condition. Both of these factors aid in making cold-water wrecks arguably more suitable for photography than those found in warm water.
Don’t be afraid to expand your photo portfolio to include the countless cold-water wrecks, many of which are closer to home than you might think
Dive Gear for Cold-Water Wrecks
Diving cold-water wrecks requires special gear and skills. In most conditions, you’re best served by investing time and money in a drysuit, rather than bundling up several neoprene layers. These suits are available in different materials, but as a photographer working close to the sunken subject, you’ll want one that can handle brushing up against abrasive wreckage.
The suit’s buoyancy characteristic is also important. Neoprene suits will keep you warmer, but are buoyant, requiring more weight to be worn. The best materials for cold-water wreck photography drysuits are crushed neoprene or Cordura. Make sure you take a drysuit class. Unlike a wetsuit, a drysuit is another air pocket that needs to be controlled, and it is important to learn how to do this safely.
You’ll also need to consider what you wear under the drysuit. The problem with crushed neoprene and cordura suits is they do not provide much insulation, so you’ll need to wear undergarments that will keep you warm. The last thing you want to be worried about when framing the perfect image is being a comfortable temperature. You want to use a material that wicks moisture away from your body (not cotton). You need to tailor the thickness of the underwear to the water temperature. Battery-powered heated undergarments are now becoming popular, but you will need to carry an extra battery. Considering all the camera equipment we carry, this should only be considered an option in extremely cold water—below freezing.
Dive gear is just as important as photo gear on cold-water dives. There’s no room to be uncomfortably cold when trying to photograph large wrecks in often poor visibility
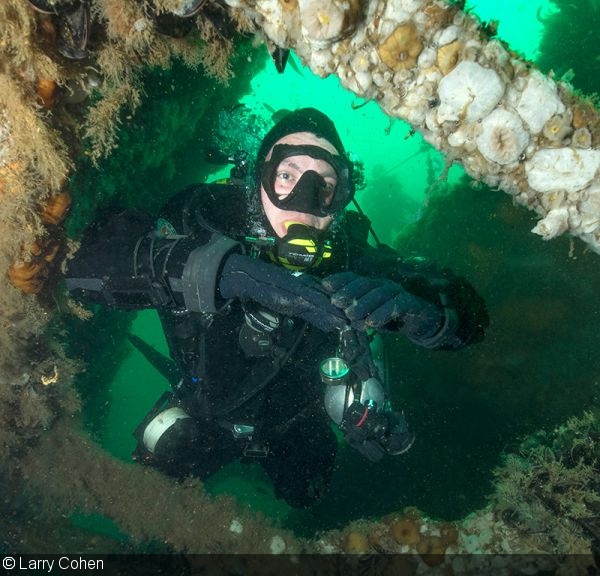
You lose a large amount of heat from your head and hands, so don’t skimp on good gloves and a hood. For cold-water wreck diving, dry gloves may keep you the warmest, but they require special attention to maintain the seal. Moreover, they are challenging and cumbersome to use in combination with complex camera controls. Personally, in most cold-water conditions, I prefer gloves of 5mm thickness to both keep my hands warm and still deliver the flexibility to control my camera. On some housings the buttons are grouped tightly together making access tricky when wearing gloves. You can use a golf tee to push these buttons.
A key piece of dive gear is your dive gloves. Thick (5mm) gloves provide more flexibility and dexterity than drysuit gloves
Cold-Water Wreck Photo Gear
As always, using wide-angle lenses is best for shipwreck photos. But with cold-water wrecks, the visibility is almost always a limiting factor: You’ll need to get as close as possible, even within arm’s length, for your strobes to be effective. For DSLR and mirrorless users, this means relying on a fisheye or fisheye zoom. This may result in distortion, but it’s a necessity the situation demands. Some photographers like this look, as it adds forced perspective and drama. For those who don’t, its impact can be lessened using a lens distortion correct tool in post-processing. The use of rectilinear wide-angle lenses is also effective. For the point-and-shoot user, the widest wet conversion lens should be attached to the housing.
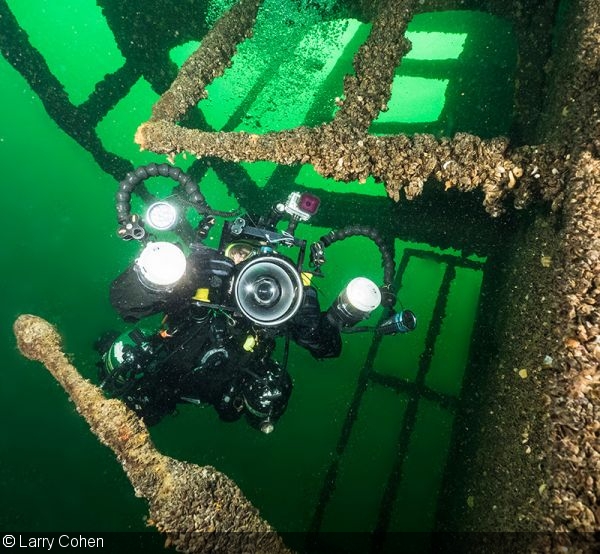
With cold-water wrecks, using two strobes to achieve even lighting is a must. Since there are more particles in nutrient-rich green water, use long strobe arms. Two 11” sections work well when shooting with a fisheye lens. This will help avoid backscatter on the photo’s edges. Inside the wreck, there’s usually little to no penetrating sunlight. For these wreck interiors, I recommend using additional, off-camera strobes with optical slaves for backlighting and further illumination.
Consider bringing additional off-camera strobes to provide more light in the dark, dim interiors of cold-water wrecks. They can be triggered optically
It is best to use a focus light above your lens port that is strong enough to use as a dive light when penetrating a wreck. A focus light with an auto-flash-off (AFO) feature will prevent your focus light from affecting the image when shooting at slow shutter speeds. These lights have a photocell sensor located on the front of the light that turns off the light for one second when your strobes fire. I use the Bigblue FF1X5P (AFO), as it is a bright light with this feature. Alternatively, you can hand off a light without an AFO sensor to a dive model to add an extra element in your images.
Invest in a durable, powerful video/focus light for cold-water wreck diving. It can make all the difference when trying to focus in poor conditions and can also serve as a torch for a dive model
Cold water can drain your camera, strobe and focus light batteries quickly. Make sure all your batteries are fully charged, and bring spares.
Any housing can fog up in cold water as a result of the inside of the housing being warmer than the outside water. This is more of an issue with polycarbonate housings, especially if you are using the camera’s built-in flash to fire your external strobes. Make sure you assemble the gear in a dry, non-humid, and temperate environment. It will also help to use silica packs inside the housing to absorb some of the moisture and prevent condensation from forming. On the surface, avoid leaving your camera exposed to the sun.
Cold-Water Wreck Diving: Planning and Execution
Many cold-water shipwrecks lie in moderately deep water (80+ feet). A combination of decompression limits and the cold will limit your bottom time, and therefore the number of images you can take. Therefore, it is important to gather information on a shipwreck to find the most interesting areas to photograph.
Studying the history of a wreck will give you insight to areas that will be worth photographing. If drawings, side-scan images and deck plans are available, they should be studied. It is also a good idea to dive the wreck without a camera first. On this tour, picture in your mind what images you want to capture and plan what is needed to create these images in terms of additional photo gear (strobes), settings, and composition.
The frequent maximum depths, limited visibility, and temperature of cold-water wreck dives requires extra emphasis placed on planning and preparation
Cold-Water Wreck Photography Tips and Techniques
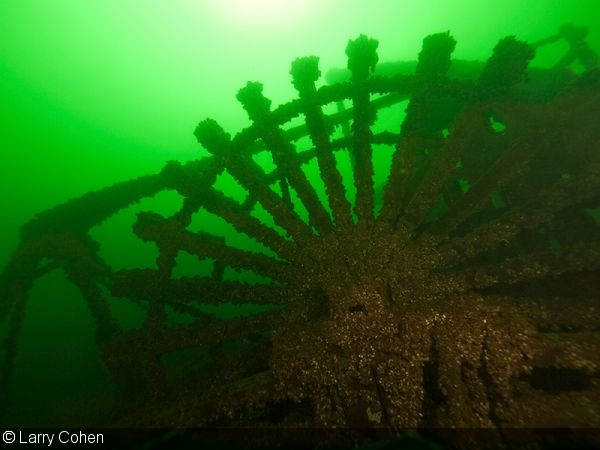
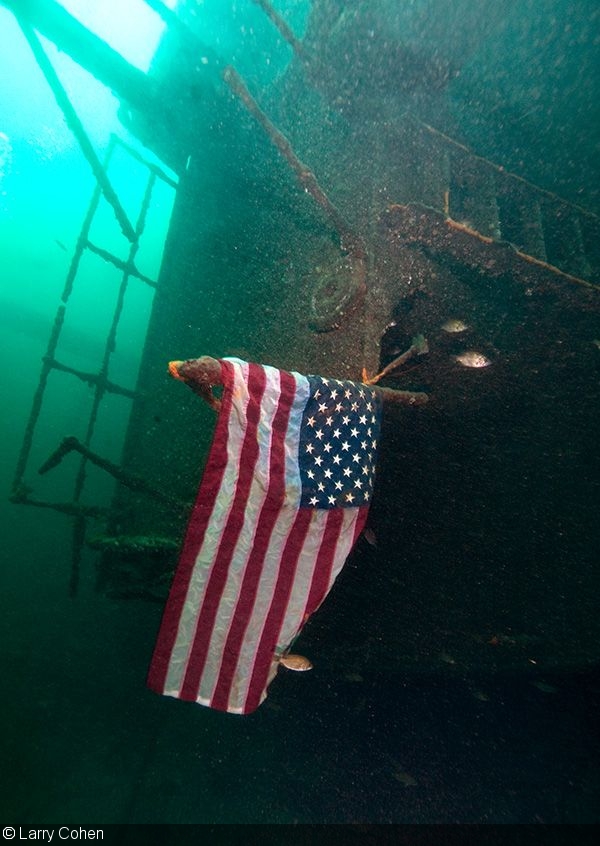
Try Ambient Light: Using available light when showing a large area of the wreck is visually appealing. A wreck is one subject that looks fine with a bit of color cast. You can fine-tune this blue/green hue by adding a color correcting filter. Ambient light could be less available on deeper cold-water wrecks, so you'll want to increase ISO (up to 1600 depending on your camera’s low-light performance). Converting to black and white is another tool to bring out contrast and create a more appealing result. These techniques are especially useful with extremely large wrecks that strobe light would do little to illuminate.
Sometimes, the size and scope of a wreck means the best way to shoot it is with ambient light, potentially converting it to black and white for an extra “pop” of contrast
Focus on the Background First: When showing ship details in cold water, use a slow shutter speed to get a bright green/blue background. This will add more natural light. Then, you can fill in the shadows and correct the foreground color with your strobes, starting at minimal output and gradually increasing. Visibility might be low with particles in the water that could cause backscatter. Keep your strobes way out to the sides and feather the center of the strobe away from your dome. You want to use the inner edge of each strobe to light the subject.
In cold-water conditions, the best mindset is to first expose the background with ambient light, before slowly adding in strobe light in the foreground
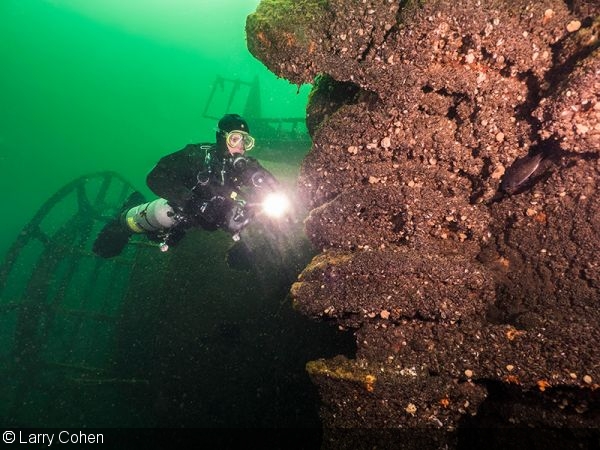
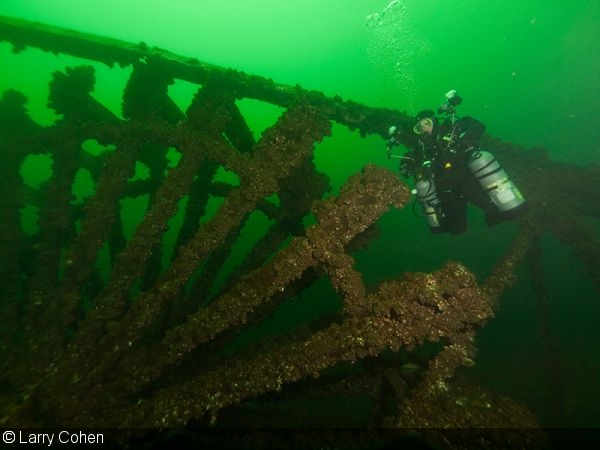
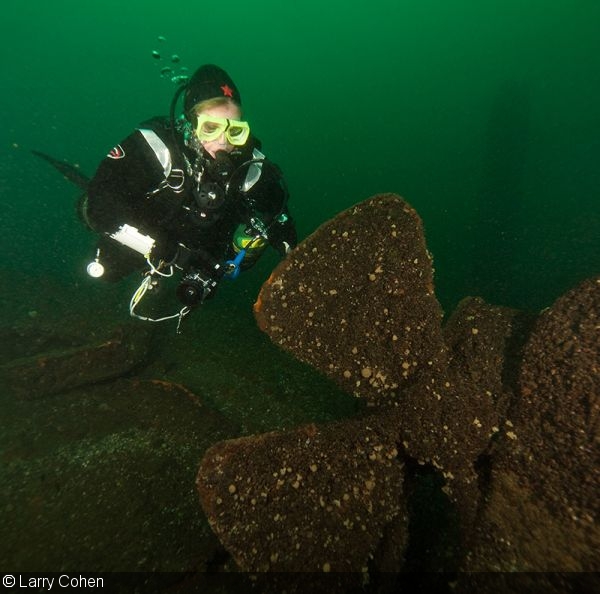
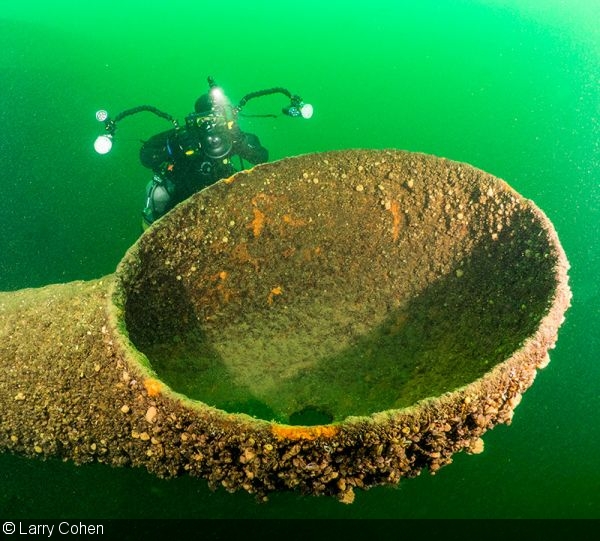
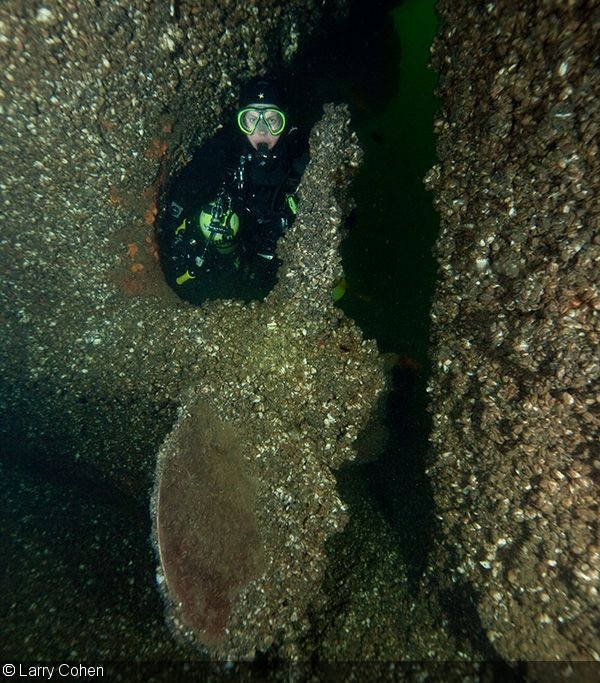
Add a Dive Model: Including a diver either in the foreground or background of the image will add scale and an element of humanity to the photograph. You could use the model as a prop while focusing on part of the ship, or you could do a diver portrait and use the wreck as a background.
A dive model adds a sense of scale to the often-massive elements of cold-water wrecks. Communication with your fellow diver will increase your chances of a quality image
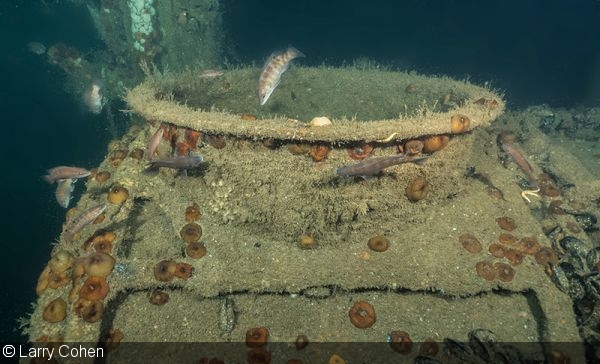
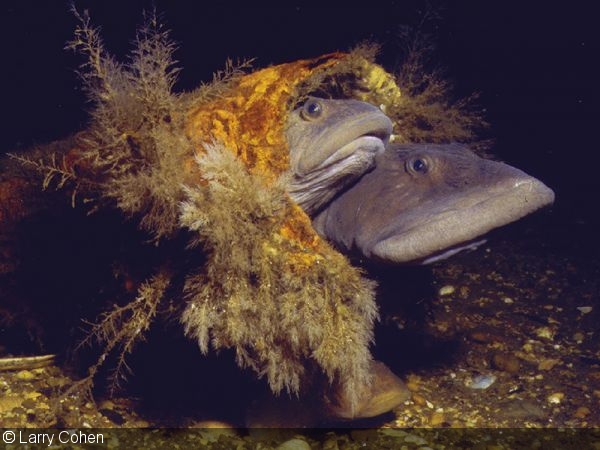
Incorporate Marine Life: Despite being in cold water, many of these wrecks are teeming with life as artificial reefs. (It’s ironic that warships designed to destroy life are now the bases for thriving marine communities!) Photographing creatures on a wreck background creates intriguing images that will set your pictures apart from those of other divers. Ask a local dive guide where to find the best marine life on the wreck to avoid wasting time on the search.
It can be easy to be enthralled by the size of a wreck and think the cold water means there’s no marine life. But that’s rarely the case. Ask your divemaster where to find possible creature subjects
Prepare for Penetration: Before trying to photograph a shipwreck’s interior make sure you are properly trained to dive in an overhead environment, ideally by practicing in warm water first. This is especially important in cold-water conditions, where visibility is limited and the conditions are often more stressful. No image is worth your life. Make sure you adhere to safely procedures, including carrying three light sources, followng the rule of thirds, and having a continuous line to open water. Before adding a camera, you need to be very comfortable diving inside a wreck.
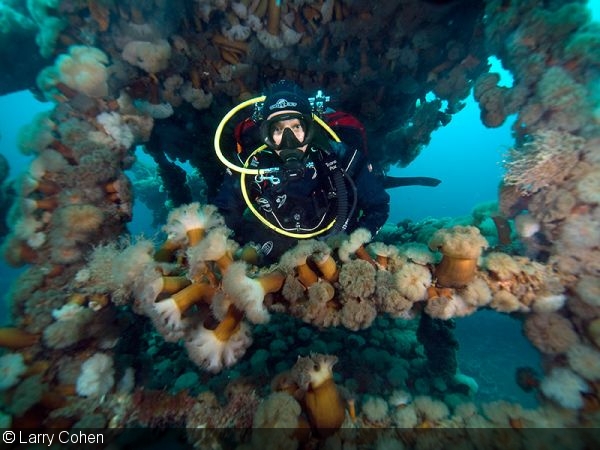
Additional Strobes: When working in total darkness, you can create more drama by adding a third strobe to create a backlight effect. Ikelite DS strobes with an optical slave converter and extension sync cable work best. When working with a diver model, you can mount the third strobe on the diver’s tanks facing the background. This technique also works well inside underwater caves.
The interiors of cold-water wrecks tend to be darker than those in warm water given the color of the water and depth. Adding an off-camera strobe makes it easier to evenly light an interior scene
Final Thoughts
Both tropical and cold-water wrecks have captured the imagination of divers and non-divers alike. Cold-water wrecks are often closer to home than you may realize and are more than just hunks of metal and wood. Many cold-water shipwrecks aren’t the result of purposeful sinking—making them locations of human drama.
The wreck could be a victim of war, bad weather, collision or running aground. Being on a sinking ship is a very frightening experience. Thinking about the passengers and crew when the event took place will help you create dramatic images. As underwater photographers we want to create captivating images of these grand structures that now rest in our backyard waters.
RELATED CONTENT
Featured Photographer

 Antarctica


