Drift Diving Underwater Photography
Drift diving for underwater photographers can go one of two ways. It can either be a magical ride through a pristine environment, where the current literally delivers you a plethora of subjects. Or it can seem like everything flies by—including your fellow divers—before you even have the chance to take an image. This is your guide to making it the former.
What Is Drift Diving?
Drift dives are a specialized kind of dive where scuba divers are moved through the dive site by current, rather than their own fin-kicking. The degree to which the dive plan is controlled by the current, as opposed to your own fin kicks, varies from dive to dive, and even the time of day.
Some drift dives are “lazier”—meaning there’s just enough current to push you in one direction, but it is still possible to maneuver against the current if needed. On other dives, the current will be ripping, and you have no chance of swimming in any other direction than that which the ocean dictates.
With drift diving, the current is often so strong you have no choice but to just “go with the flow.” This makes photography more of a challenge
Across the spectrum of drift diving, there is one constant: It’s a one-way dive, where you will not be returning from the origin of the dive. Why would one opt for such a dive instead of an hour-long swim around a shallow reef? Well, sometimes it’s just a matter of circumstance. Mostly, though, the currents that are giving you the express ride signal an abundance of marine life.
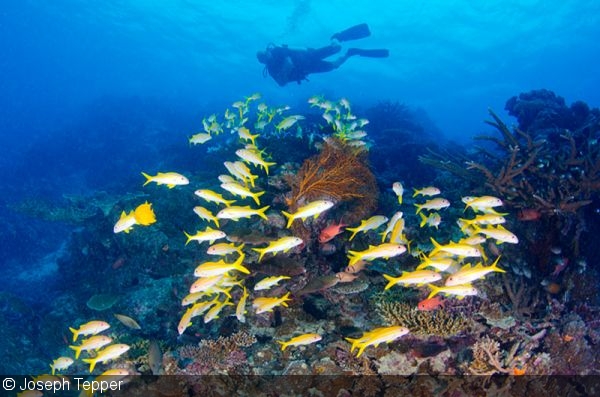
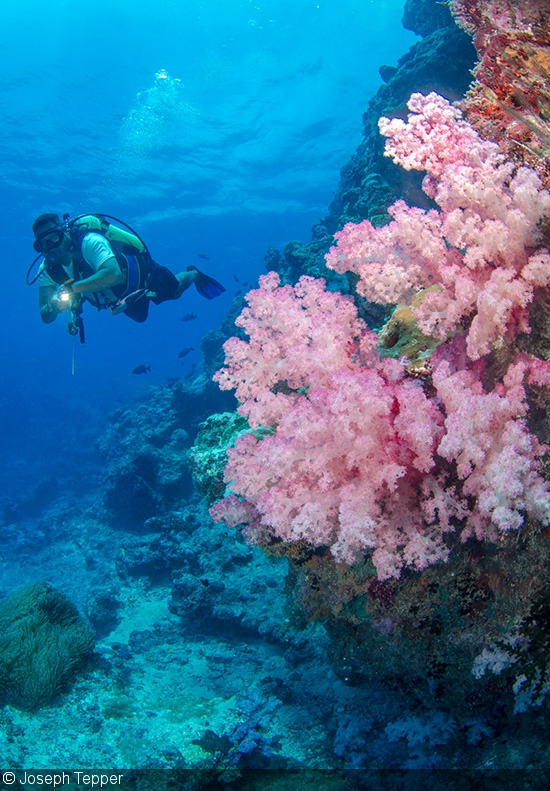
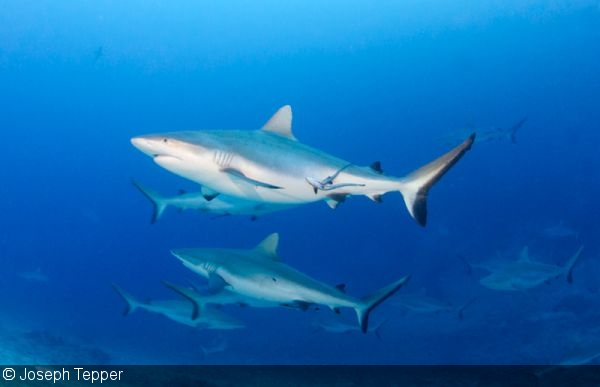
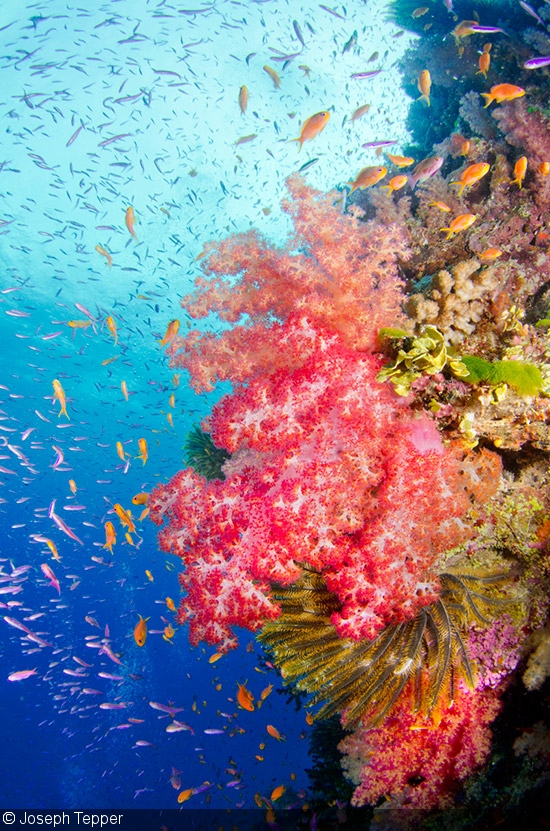
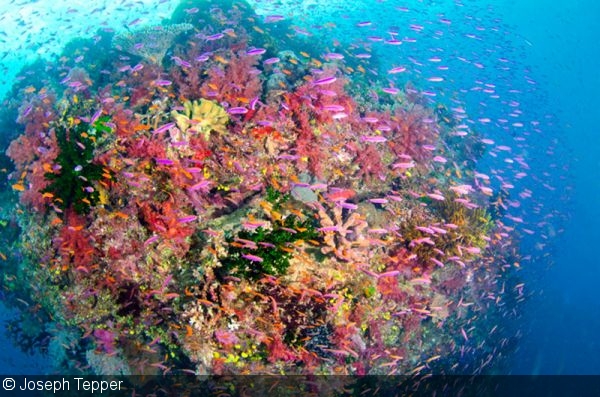
Currents bring nutrient-rich waters, which in turn brings small fish, bigger fish, and even bigger fish. You see this on some of the world’s most famous drift dives, like Palau’s “Blue Corner” or Fiji’s “Nigali Passage.” At other destinations, the current results in an explosion of color with soft and hard corals swarming with bait and reef fish.
The currents experienced during drift diving may be a challenge to swim in, but they do bring in nutrients, reef fish, and pelagic, big animals
Equipment for Drift Diving
For the most part, drift diving is all about wide-angle underwater photography. You won’t have a chance trying to fight the current to go back for that seahorse you spotted. On some dives, you may be able to avoid the current on the protected side of the reef, making macro possible.
Wide-angle subjects, though, vary from one drift dive to another—and therefore your lens selection does too. For drift dives where the focus is the reef scenic thriving in the current, a fisheye or fisheye zoom is your best bet. Other drift dives focus on what is in the blue, rather than what is on the reef. Here, a rectilinear, wide-angle zoom will help fill the frame with pelagics out-swimming you in the current. Compact users can pop-on a fisheye wet lens for reef scenics, and remove it for fish portraits or pelagic subjects.
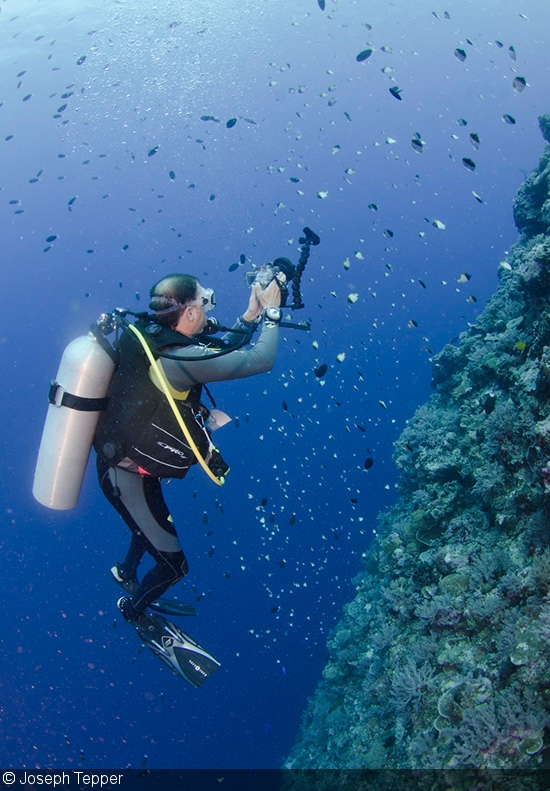
A key tip for drift diving—be it with camera or without—is to be streamlined. In terms of your dive gear, this means keeping hoses tight to your body to avoid them getting caught on the reef. In terms of your camera, opting for shorter strobe arms (if possible), and ones that are sturdy, will help limit the current pushing them out of place. Having said that, some currents are so strong they can give your strobes “spaghetti arms,” and even rip off your mask—so pay attention!
Having your photography and dive equipment streamlined makes it easier to maneuver in the current
Many underwater photographers carry reef hooks on drift dives. Sometimes, the dive plan will include “hooking in” to a certain area of the reef, often to wait for pelagic subjects such as sharks or manta rays. Outside of these opportunities, a reef hook can be employed if you find an engaging subject. Find a dead piece of coral or rock, hook in, and you’ll have both arms to shoot away.
Safety is a concern given the high-paced nature of drift dives. The addition of a surface marker is a necessity. All too often, underwater photographers spend just a few extra seconds with a subject, which can leave them in the dust from other divers. You’ll want a big surface marker to make sure you’re easily spotted from the boat.
On some sites, all of the action is at one spot, meaning you’ll need to use a reef hook to stay put
Drift Diving Tips
Much of an underwater photographer’s confidence on a drift dive begins with the diving itself. It is highly encouraged you participate in at least one drift sans camera before attempting to dive with your underwater photo kit. Here are some quick dive tips to get the most out of your drifting experience:
Pay Extra Attention to the Dive Brief: Not that all dive briefs aren’t important, but your safety and ability to capture stunning images begins with the brief. You’ll want to take note of entry and exit points, so that you can stay as close to the group as possible for extraction at the end of the dive.
Stay Neutral: Neutral buoyancy is especially important on drift dives, where the current may not just be moving you horizontally, but vertically as well. Being pushed up and down by the current is common in areas where currents are funneled through a small space, or where multiple currents meet. Pay close attention to your depth and focus on safety over getting the shot.
Catch Up: Slower divers (aka underwater photographers) will want to make sure that they end up with, or close to, the main group by dive’s end. Some operations require the entire group ascend at the same time. Even if this is not the case, you don’t want to end up too far away from where the dive boat is looking for you.
Drift dives do deliver a plethora of subjects, but safety is also a concern. Make sure to pay attention to the dive brief and maintain neutral buoyancy
Drift Diving Photography Tips and Techniques
It isn’t (usually) the conditions that dictate whether or not your drift dive is a magical express ride or a nightmarish blur—and whether your images are fabulous or forgettable. Your skills as a diver and underwater photographer both come into play. By adhering to the following techniques, you can increase your odds of being comfortable on the dive and producing stunning images.
Look Ahead: With drift diving you don’t go to the subjects—they come to you. When the currents are strong, it’s imperative that you are looking for subjects ahead of you (up to 100 feet depending on visibility and current strength). If you look for potential subjects or scenes where you are at a given moment, by the time you realize it and get your camera ready, you’ll be long gone. Instead, look ahead, visualize your composition, get your settings ready, and shoot away when close enough.
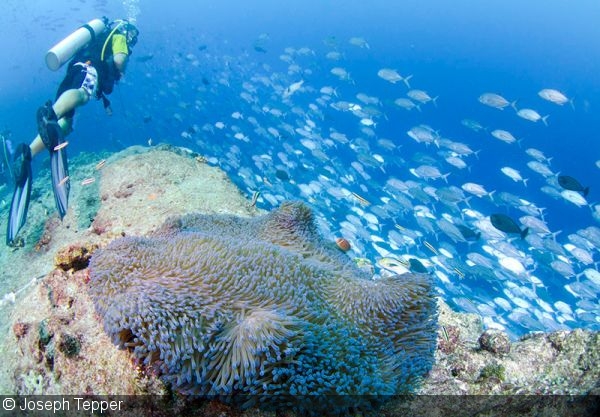
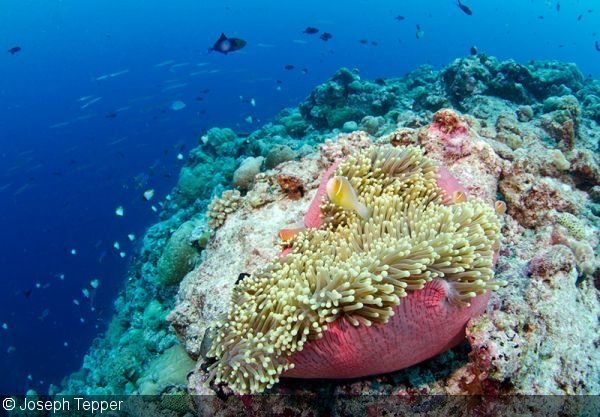
Looking further ahead on your drift dive allows you to pinpoint specific subjects, such as this anemone, and prepare your settings while you approach
Stick to the Same Settings: Normally, tweaking exposure and strobe settings is encouraged to achieve improved results with the same subject. With drift diving, however, you’ll have little time to be fiddling with shutter speeds and apertures. Once you’ve found the settings that work in the conditions, stick to them, only making minor adjustments along the way.
One and Done: Okay—you won’t have just a single frame to capture a subject on or off the reef, but it won’t be much more. If you miss the shot the first time, keep calm, and kick as strongly as you can to re-frame the subject. It’s better to rapid fire as you get closer to the subject than to take only one image, realize it’s not framed right, and have to kick against the current to get back.
Stay Ahead of the Group: This is a hard one, especially for photographers who like to spend their time on a single subject. Fortunately, that’s usually not possible on drift dives. Being ahead of the group will allow you to shoot back in the direction you came from, in order to include divers in your wide-angle images. Staying ahead will also eliminate the amount of streaming bubbles from other divers in your image.
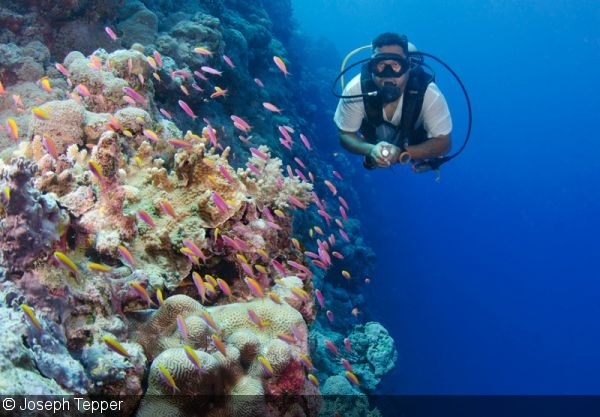
Underwater photographers often lag behind the group, but staying ahead allows you to shoot backwards and include fellow divers as models
Use the Reef to Escape Current: On most drift dives, the winding topography of the reef or rock formations will provide sections that are protected from the current. Check these out for close-focus wide-angle subjects, which you can actually spend time with. Alternatively, just use these current-less cuts in the reef to catch your breath.
Hook on if Needed: Needless to say, a reef hook is a must when the dive plan calls for it. But it can also be applied to halt your path along the wall if there’s a subject that demands more time. Care should be taken to ensure that your reef hook is properly placed so as not to damage living coral.
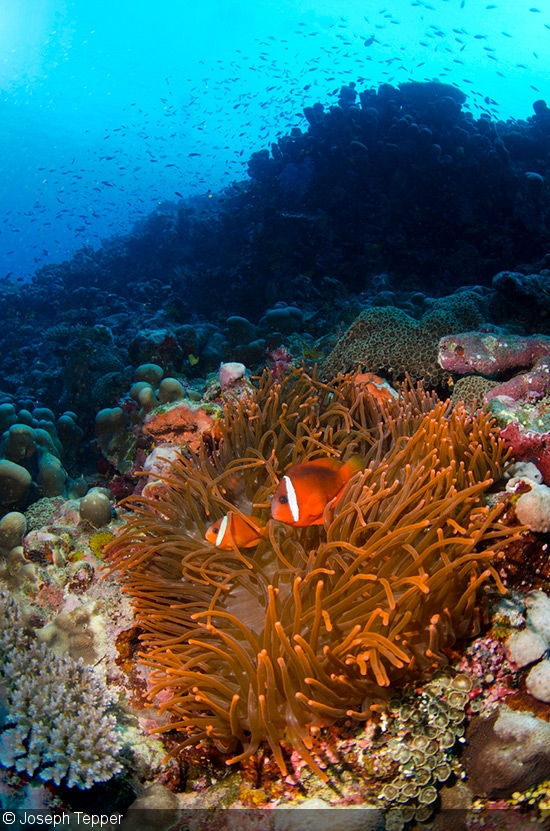
Sometimes, the current won’t be quite right when you find a perfect subject. In such circumstances, it makes sense to put your reef hook into rock or dead coral
Final Thoughts
If you’ve ever done a drift dive with a camera, you know it can leave you frustrated and discombobulated. Traditional shooters often sigh at the thought of drifting because it limits the amount of time you can spend with a subject. And while this is true, drift dives also provide unparalleled access to burgeoning marine life, the healthiest coral, and pelagic species. By following the tips above, your next drift dive might just be the rush of your life.
RELATED CONTENT
Featured Photographer

 Antarctica


