Focus Bracketing in Underwater Macro Photography
Getting pin-sharp focus is one of the biggest challenges in underwater photography. The autofocus technology in cameras is constantly improving: There are more points, better tracking, and even combinations of phase/contrast detection. Check out our Introduction to Autofocus to learn the basics.
But even with all of the improvements in autofocus, underwater photography presents challenges that are hard to overcome—and autofocus can let us down. The good news is that you can use “focus bracketing” to better increase your chances of getting pin-sharp focus.
Limitations to Autofocus in Underwater Photography
Autofocus works well about 95 percent of the time in underwater photography, especially with wide-angle scenes. But when you’re dealing with macro and super-macro subjects, autofocus doesn’t always work.
The first—and most obvious—challenge is the size of the subject. Super-macro subjects can be as small as the head of a pin, such as pygmy seahorses, invertibrates, and even frogfish. Shooting these subjects requires the use of macro diopters that reduce the minimum focus distance and increase magnification. Unfortunately, they also reduce the depth of field, which makes it harder for your camera’s autofocus to function properly on the area you want in focus, such as the subject’s eyes.
But there’s also the fact that your camera’s autofocus wasn’t designed to work underwater. Autofocus technology is getting better at working in low-light conditions, but underwater even using added focus lights might not be enough. Plus, many of these critters have evolved over millions of years to mimic and blend into their environments—not exactly a recipe for autofocus success. That’s when it’s time to switch to focus bracketing.
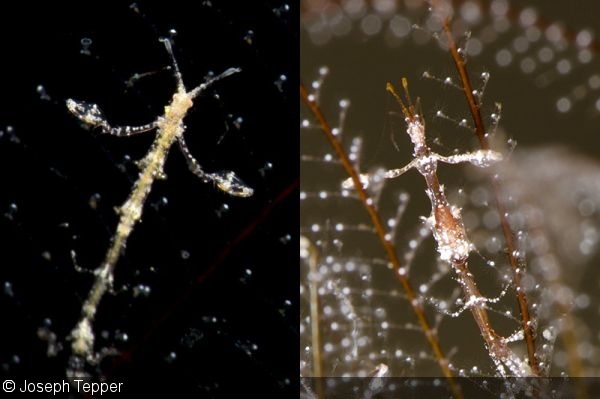
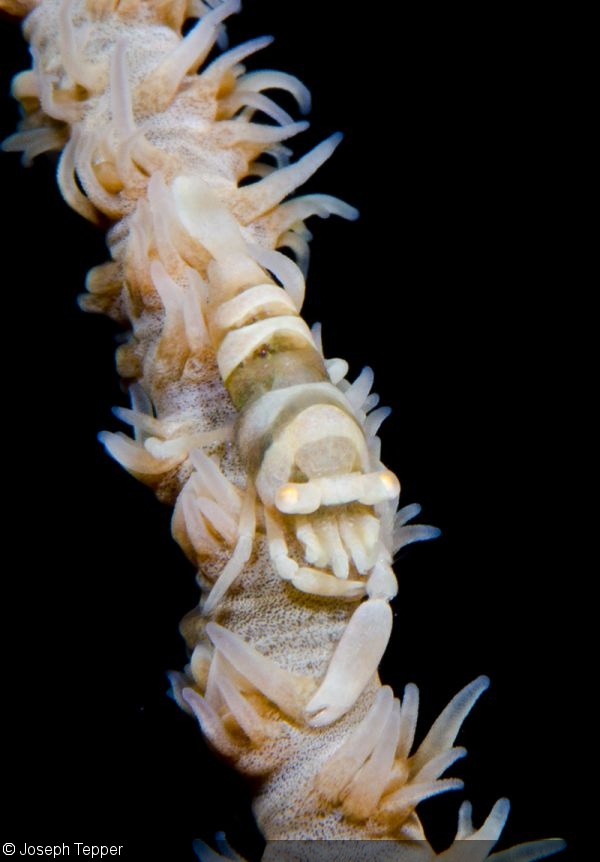
In dark conditions, your camera’s autofocus may have difficulty achieving focus on super-macro critters, like this skeleton shrimp (left). Focus bracketing ensures crisp focus (right)
What Is Focus Bracketing?
In photography, bracketing refers to taking multiple images of the same subject but with slightly differing settings. This typically refers to exposure settings like aperture or shutter speed. Taking the same image with multiple exposures and combining the results is the method behind high dynamic range (HDR) imaging.
In a studio environment, you could do the same thing with your focus point. You could set up a camera on a tripod, aimed at a super-macro subject, and fire off a bunch of images while slightly shifting the focus manually. But underwater photography is nothing like a studio—and setting up a tripod for underwater macro photography is almost always impractical (underwater videography excluded).
You can achieve the same results, however, by locking the manual focus and gently moving the camera back and forth. Yes, not all of your images will be in focus—in fact most won’t be—but you are more likely to achieve one image with the perfect focus on the point you want in the image than by relying on autofocus alone.
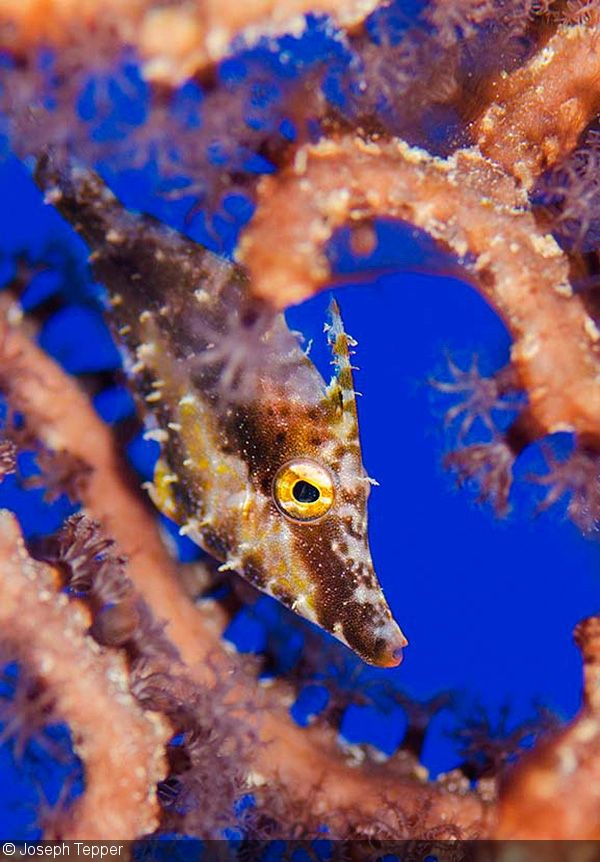
This juvenile slender filefish was hiding in soft coral, and the camera’s autofocus kept locking onto the coral rather than the fish. Using focus bracketing puts the shooter in control
Tips for Focus Bracketing in Underwater Photography
Essentially, this technique comes down to luck and patience. You will need to spend a lot of time with the subject and take a fair amount of blurry images just to get the perfect shot. However, there are some basic steps you can take to make the process easier and more effective.
Choose the Right Subject: Not all subjects are ideal for focus bracketing—it’s less important how small the subject is, and more important that it doesn’t move too much. You will be moving the camera back and forth through the focus plane, so having the subject move as well will cut your chances of an in-focus image in half. Alternatively, if the subject is swinging back in forth in a predictable pattern (like a seahorse), you can stabilize your camera in a single spot and take multiple images when the subject comes into the focus plane.
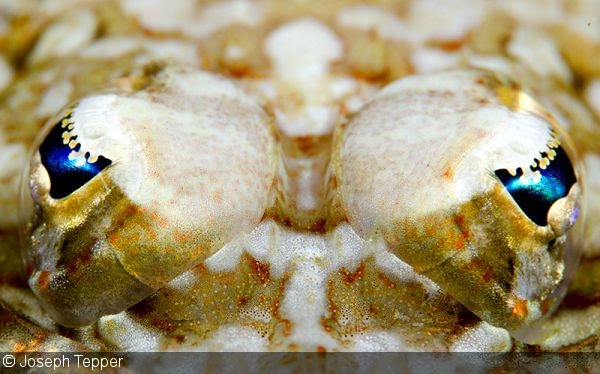
Start with still subjects, like this crocodilefish. I used focus bracketing to make sure its eyes were in perfect, crisp focus
Locking Manual Focus: As mentioned previously, you will need to lock your manual focus on a single point—but where should this point be? First, consider how close you can get to the subject without scaring it off or interfering with its behavior. Then, use the autofocus to get as close to the correct focus as possible—it doesn’t have to be perfect, as it’s just a starting point). Then switch to manual focus, effectively locking the focus point.
Small Movements: Since you’re dealing with a very small plane of focus, you don’t need large swings of the camera—just a couple of inches is usually enough. Rather than pulling the camera back and forth, just use your wrists to gently rock it while looking through the viewfinder.
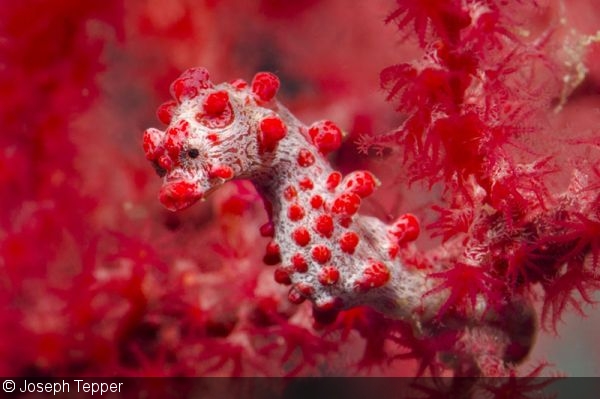
The size and evolved camouflage of the pygmy seahorse makes it a great subject to use focus bracketing
Continuous Shooting: Focus bracketing works best when shooting in continuous mode, when you are able to fire off 6 to 8 shots in just a couple of seconds. For this reason, it’s best to use an electronic strobe connection, which doesn’t suffer the delays in your pop-up flash with fiber-optic connections.
Low Strobe Power: Assuming you have an electronic connection, you won’t have to deal with the delay of the camera’s pop-up flash. However, you will still need to use a low strobe power (1/4 or 1/2 power) to limit any delay in strobe recycle time. Thus, your exposure settings will be approximately as follows: shutter speed 1/60–1/125s, aperture f/5.6–f/8, and ISO 200–800.
Here, I’ve used a more open aperture and low strobe power (1/4 power) to make sure the strobes recharge quickly for focus bracketing
Use Focus Peaking: Some cameras offer focus peaking, which displays, in real time on the LCD, the areas of the image that are in focus. This can be useful when bracketing if you have an electronic viewfinder or don’t have the best eyesight.
Final Thoughts
Focus bracketing isn’t an easy technique to master. You have to already be confident in your lighting, composition, and subject selection of macro critters. But if you find that your autofocus isn’t giving you the precise focus needed, you may find you get greater success by locking in a manual focus and using focus bracketing. Follow the tips above to get started, and try beginning with something that you aren’t worried about messing up, like a small pebble or coral polyp.
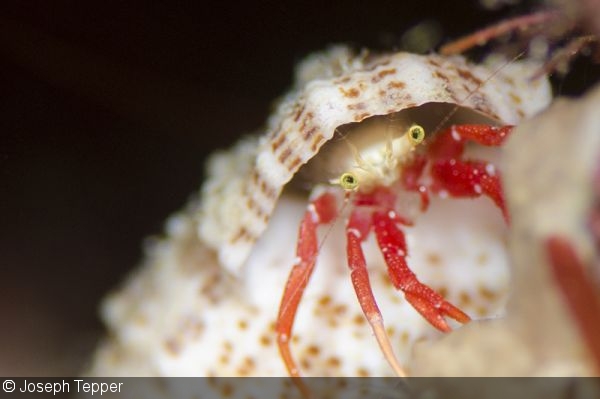
Focus bracketing ensures that the shooter has control over the focus point, rather than relying on the camera’s autofocus
RELATED CONTENT
Featured Photographer

 Antarctica


