Photographing Reflective Fish
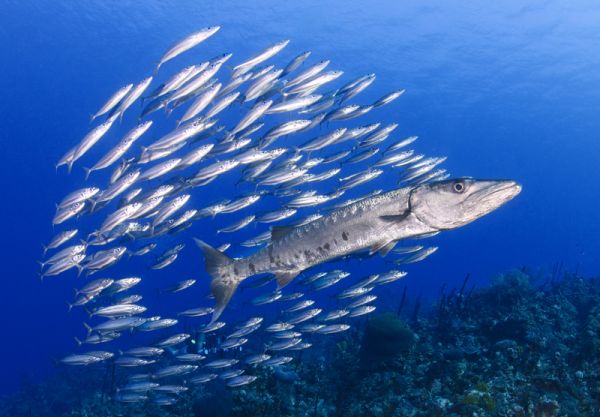
Fish species have evolved over millions of years to evade predation through clever behaviors and physical adaptations. One such trait is the reflectiveness of their skin. Many species of fish, especially those moving in large schools, have super-shiny, silvery skin. Scientists believe this trait makes them less visible to predators because the shiny skin does not polarize reflective light.
That’s great for fish, but not for underwater photographers. Schooling, silvery fish are difficult to photograph not only because they are constantly moving, but because it’s very easy to overexpose or “blow out” the image with our strobes. At the same time, too little strobe light leaves the image flat and without any detail. In this article we provide the tips and techniques to photograph reflective fish.
Equipment for Photographing Reflective Fish
Without doubt, schools or shoals of reflective fish are wide-angle subjects deserving of a fisheye lens or wet lens attachment. If you want your strobe light to reach the school, it is important to be close—say, within 5 feet. For this, you'll need a wide-angle lens with a 20mm focal length (35mm equivalent) or less.
The first key piece of equipment is a fisheye lens or wet lens, which will allow you to be close enough to fit the whole school in the frame and for the strobe light to reach the fish
“Strobes” is the key word in that last sentence. You will want strobe, or artificial light, to bring out any detail and color in the fish, while also producing an image without a blue cast. The choice of strobes is yours, but make sure you have them on long arms to help create the widest angle of coverage of the school. The other alternative is to use natural light only, in which case the best option may be to convert to black and white.
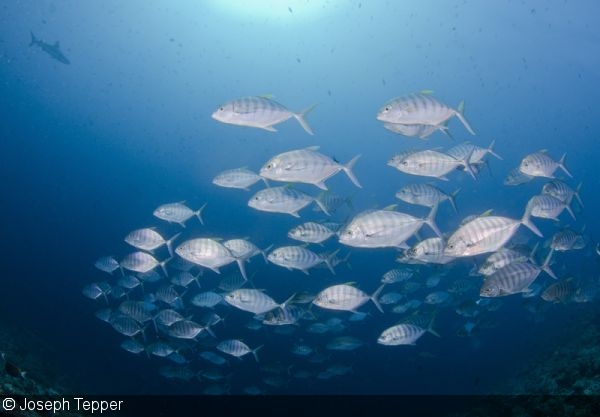
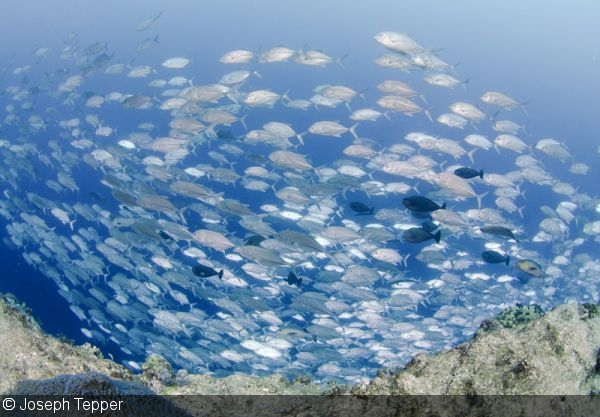
Another option is to use filters instead of, or in addition to, strobes. While strobes can be used to photograph smaller schools or add a bit of light to the fish in the foreground, they simply do not have the power to cover a large school. Filters bring color and detail to these large schools of reflective fish, while also increasing the contrast between the subjects and blue water background.
Using filters brings color and contrast to scenes that would otherwise be too large for strobe light
Photographing Reflective Fish with Strobes
Using strobe light to illuminate the school should be the first choice, unless the school is simply too large (in which case, go with filters). But using strobes with reflective fish is a double-edged sword. If there’s too much light, you’ll end up with blown-out subjects—a lot of blinding white light. Use too little and the image will lack color contrast and detail.
Too often, photographers are left guessing about settings and strobe power, failing to get the shot. Here is a step-by-step process for capturing images of schooling, reflective fish, often used by professional photographers.
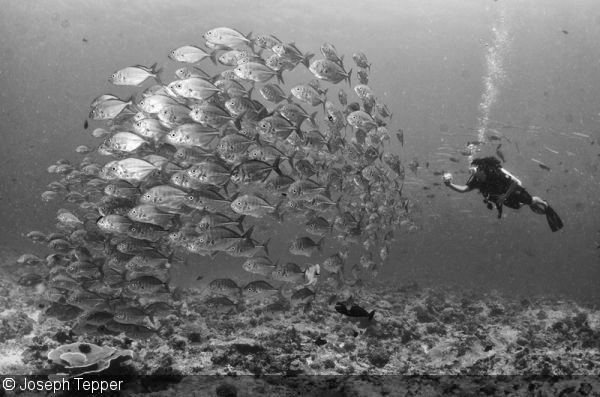
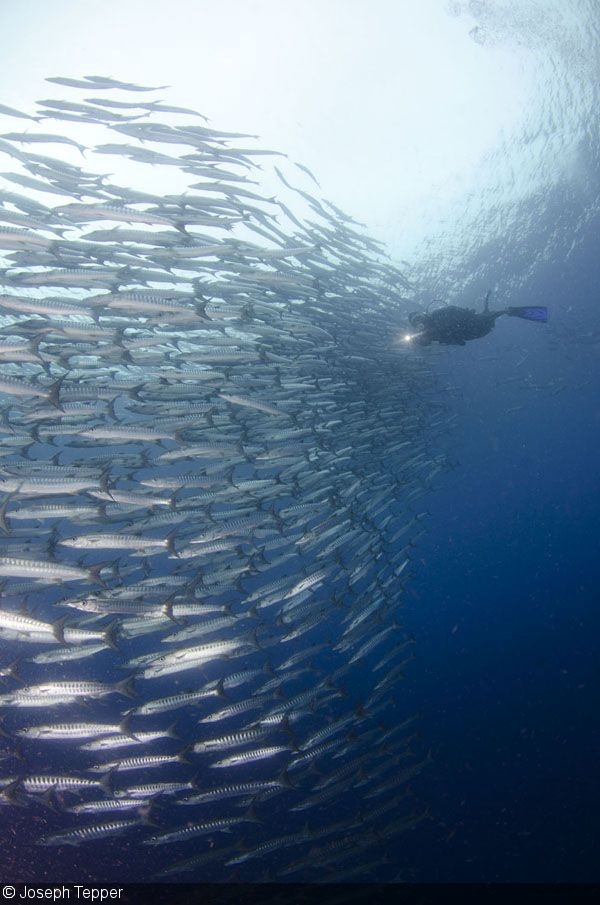
Shooting in ambient light alone will likely result in inaccurate colors—but you can still achieve good-quality images after conversion to black and white
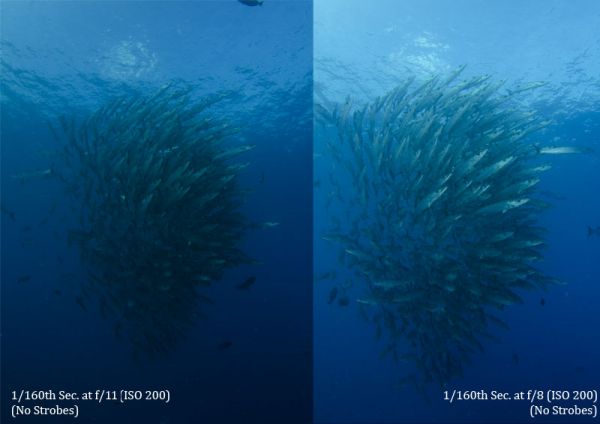
Step 1: Begin by shooting the scene just with natural light—turn your strobes off. This allows you to properly meter the mid-blue water, but also assures you at least have a decent black-and-white image before turning the strobes on. Depending on the conditions, meter around f/8 at 1/125s (ISO 400).
Step 2: Once you’ve metered for the ambient light, focus on composition and start shooting away, still without strobes. This will get the school comfortable in your presence and provide for optional, naturally lit images. Make sure your ambient light settings are spot on before the next step.
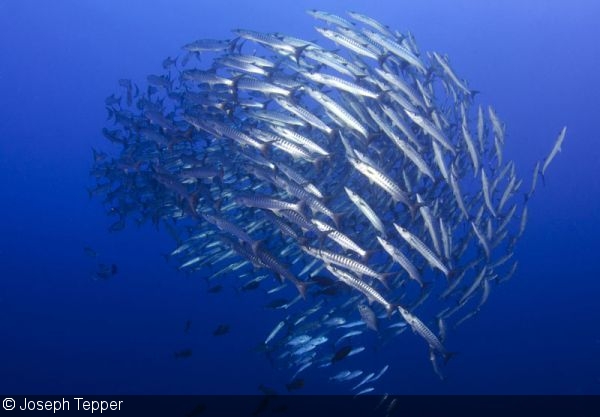
Left: An initial underexposed image of schooling barracuda. Right: A more open aperture gives the correct ambient light exposure
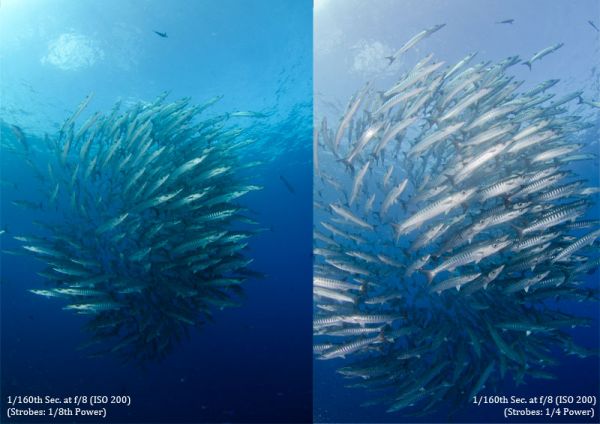
Step 3: Turn your strobes on, at minimum power. Unless you’re quite confident about the amount of strobe output required, it’s best to start with the minimum, and work your way up a single increment (say, 1/8th) at a time.
Step 4: Review your images in the camera, ideally while shooting, to determine what strobe output brings out the color and contrast of the fish, without creating too much “blow out.” A couple of the closer fish with bright reflection is acceptable and can be fixed in post-processing, but the whole lot blown out isn’t good.
Step 5: Remember to adjust your exposure as the shoal ebbs and flows in proximity. A strobe output that works when the school is five feet away won’t work when two feet away.
Left: Begin with a touch of strobe (1/8th power), which appears to be not enough. Right: Adding more strobe light brings out more color and detail
Tips and Techniques for Photographing Reflective Fish
Adjust Aperture on the Fly: As mentioned above, you’ll need to adjust the amount of strobe light hitting the reflective fish as they move closer (less strobe light) and further away (more strobe light). Constantly reaching up to your strobes isn’t ideal, especially when trying to keep up with the school. Instead, you can alter your aperture (f/5.6 to f/11), which will allow more or less reflected strobe light to hit your camera’s sensor.
As the fish move closer, you’ll want to decrease strobe output, as you risk blowing out the highlights
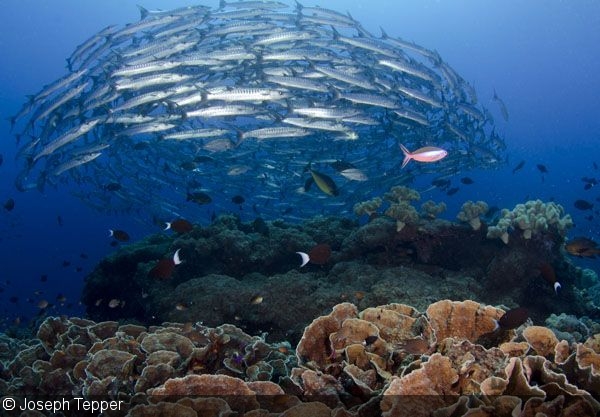
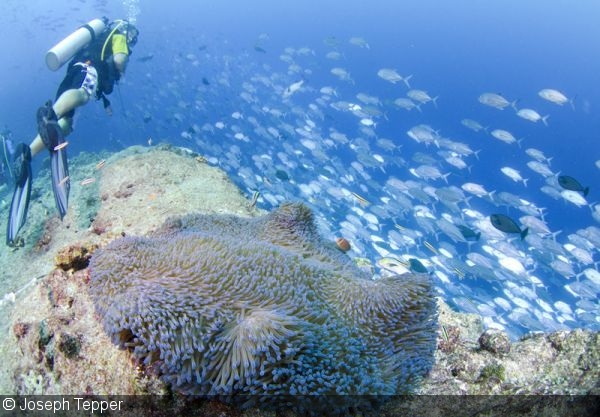
Fish as Secondary Subjects: If you become frustrated with photographing reflective fish (it happens to all of us) consider using them as secondary subjects. The good news is schools often stay within a reasonably small area, and you can use this to line them up in the background of a shot, with something like soft coral or a sponge in the foreground. The ambient light will illuminate the fish, while your strobes will illuminate the foreground.
Schooling, silvery fish make for great secondary subjects, as in this case of an image also featuring a diver and an anemone
Use Diffusers: With reflective fish, it’s especially important to keep your diffusers on. Not only will these increase the angle of coverage, but they have the effect of making the light hitting the subjects softer, and less likely to blow out your camera’s sensor.
Better to Underexpose: It's always better to underexpose an image of shiny fish. You can use post-prossing to bring up these low-lights, as there is existing image data there to be manipulated. When you “blow out” a portion of the image, however, there is no data and therefore little you can do to recover the detail lost. That’s also why we start with less strobe power, and gently increase.
Using strobe diffusers and starting with minimal strobe power help guarentee properly exposed images of silvery, reflective fish
Final Thoughts
Photographing schooling fish isn’t easy. It can feel darn near impossible at times. Even seasoned pros struggle to avoid blowing out details of shiny subjects. The key is to start with natural light and only introduce a little bit of strobe light at a time. Eventually, you’ll have enough experience under your belt to take into account the amount of ambient light, the shininess of the fish (it differs by species), and the proximity of the school to know the go-to settings.
RELATED CONTENT
Featured Photographer


 Antarctica


