Self-Modeling in Underwater Photography
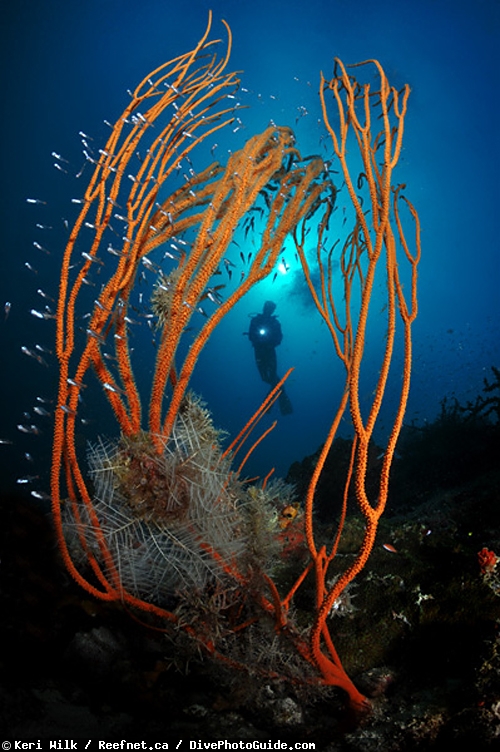
For an underwater photographer, the list of cons increases greatly. Instead of having two sets of eyes hunting for subjects to keep you busy, you’re stuck with just your own. When you’d normally have a buddy to keep you safe while you’re focused on a subject through your viewfinder, you’re alone with your bubbles. And when a beautiful reefscape, group of soft corals, or cave opening begs for a model to accentuate it or to add a sense of scale, you’re out of luck… right? Not necessarily. With the correct tools, technique, and execution, you can be your own model, capitalizing on opportunities that might otherwise have been lost.
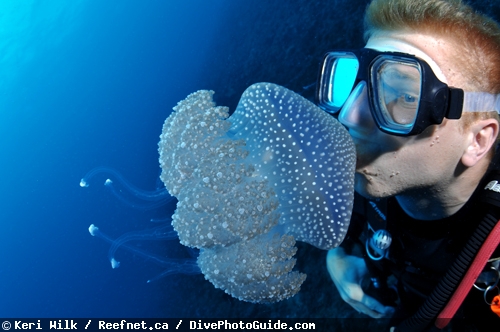
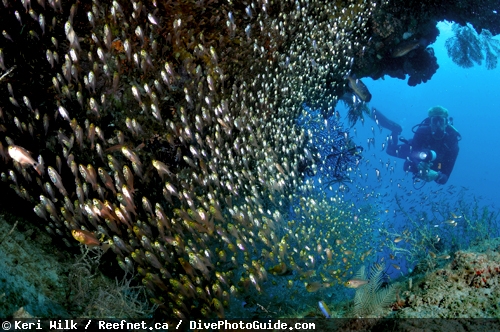
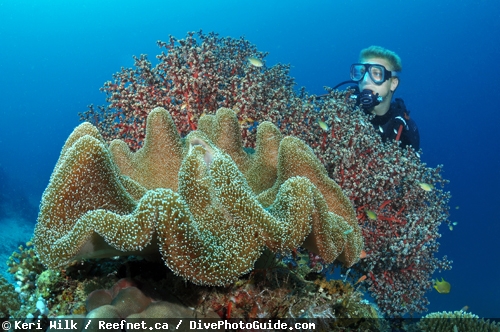
Being essentially a solo diver for most of my trip, and not willing to sacrifice the photographic opportunities that arose, I had no choice but to do considerable experimentation with self-modeling. Basically, whenever I found a suitable wide-angle subject, I positioned the housing/strobes on a support, placed myself in the scene, and “took” the photo. In this article I will describe the gear I used, the problems I encountered, and the techniques I employed in my self modeling underwater photography endeavors.
EQUIPMENT
You don’t need anything special to start modeling for yourself – just a housing with a tripod mounting hole, a tripod that you don’t mind taking underwater, and a camera with a self-timer mode.
Housing
Most housings today incorporate at least one or two 1/4 -20 threaded holes in their bases. This is the same size threaded hole which can be found on almost any land camera. Tripod mounting plates or heads are designed primarily for this size mounting hole, so finding a suitable tripod shouldn’t be a difficult task.
I was using a Nauticam DA-90 housing for a Nikon D90 camera, which comes equipped with 3 appropriately-sized mounting holes, ready to accept a tripod.
Tripod
Since you’ll most likely be trying this technique in a saltwater environment, I would advise against using your fancy/bulletproof/expensive tripod to test out this technique. While most high-end tripods are primarily constructed from lightweight rust-resistant materials (carbon fiber, aluminum, etc.), their nuts, screws, and bolts are often rust-prone steel, so thorough freshwater rinsing would be required to keep them alive. In my opinion, you’re better off going with an inexpensive tripod that you don’t mind keeping around for a year or two before either replacing the rusty hardware, or just tossing it in the garbage.
I used a Velbon CX-300 tripod during my trip, which cost a bank-breaking $30. It weighs only around 2 pounds, so when the housing was attached to it, even moderate current or surge was enough to either shake it or fully dislodge it from its position. To stabilize the system, I attached a 3-pound lead weight to each of the legs, which made it rock-steady in all but the strongest currents that I encountered (when I wouldn’t even have considered setting up the tripod anyway). By the end of the 2 months, all of the steel components were heavily rusted, so I’ve temporarily retired it until I find the time to replace the ruined components.
Alternatives to the typical tripods are their short, flexible cousins --- Gorillapods. With legs only 11 inches long on the top-of-the-line version, this type of tripod is ideal for setting up shots where a low vantage point is required, which, in the case of most cheap inexpensive tripods, isn’t otherwise possible. On most dives, I had my remote snooted strobes slung under each arm, attached to their own Gorillapods, so if a situation presented itself where a lower camera position was required, I simply swapped the Gorillapod from a strobe, onto my Nauticam housing. The only real issue with them is that there is no easy way of mounting the camera vertically.
To minimize the stress on the tripod’s components (and your arms!), it helps to tune your camera system to be nearly neutrally buoyant – I like mine slightly negative. I mention this because I didn’t have time to tweak my housing to the point I wanted, so my tripod was almost broken by the end of my trip from all of the additional stress.
Camera
Triggering the camera after you’ve left it on the tripod and moved into the frame requires either a housing with a lengthy remote shutter release mechanism, or a camera with either a self-timer or an interval timer mode. Physical remote triggers seem too limiting for this type of photography (but I’ve never tried them), so I used my D90’s self-timer mode exclusively. Most modern digital cameras have self-timers allowing delays of up to 20-30 seconds, which, in most cases, should be plenty of time to swim into position for each shot.
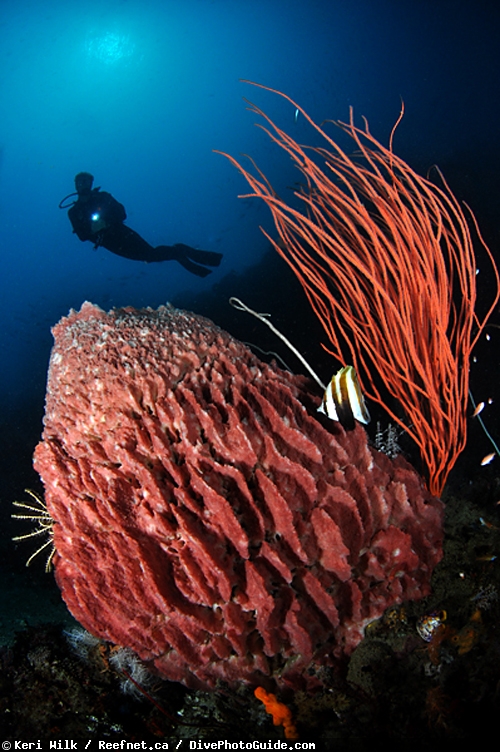
The D90 I was using can be set to shoot multiple consecutive exposures once the self-timer expires, but this function doesn’t work when the camera’s built-in flash is popped up. The use of fiber optic sync cords to trigger your strobes eliminates this exposure feature. Since I didn’t have functioning electronic sync cords with me, I was forced to swim to and from the camera for each shot. This is not an air-consumption-friendly process, but it works nonetheless.
Some cameras have a built-in interval timer mode, which allows any number of shots to be taken at any interval, starting at a user prescribed time. This is ideal for self-modeling underwater photography, since it eliminates the need to swim back and forth to the camera between shots. The D90 I was using does not have this feature and, as a result, the bulk of this article pertains to using a camera’s self-timer mode.
TECHNIQUE AND TIPS
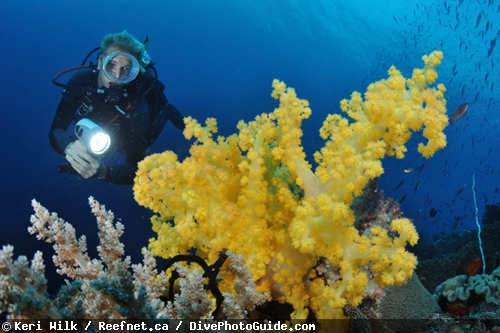
Having the correct equipment is easy enough, but using it efficiently and effectively is a different story. I estimate that 80% of the self-modeled shots from my trip were botched in one way or another, but I eventually got the hang of the process and my success rate began to rise. Compared to shooting on land, setting up a camera, housing, and strobes on a tripod underwater requires consideration of many more variables. If you find yourself in a situation where you need or want to model in your own shots, here are a few tips that you might find helpful:
- After finding a subject you’d like to shoot, survey the surrounding environment to determine if your tripod can be placed without damaging or disturbing marine life. Avoid choosing locations or subjects which require you to swim drastically shallower to get into the frame. If you’re using a self-timer mode, you’ll likely be in a rush, and rapid ascents can be very dangerous!
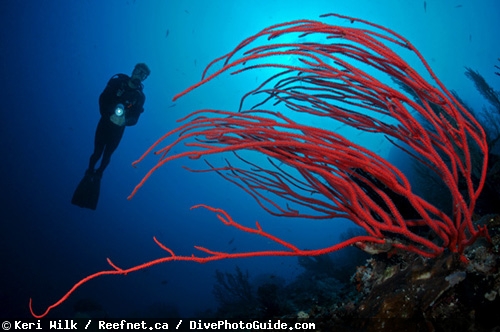
- With the camera still detached from the tripod, take some test shots to ensure proper exposure and strobe positioning, while also choosing how the image should be framed. It’s easier to frame the image without the tripod attached, and you can use these shots as reference images.
- Set the tripod roughly in place, attach the camera housing, and then fine-tune the system’s position until the framing matches your reference images. If using a strobe(s), take another test exposure to make sure it hasn’t shifted since re-positioning the system.
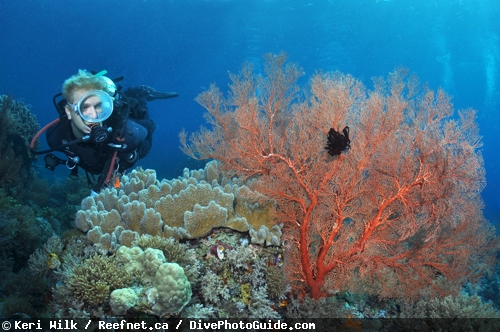
- Visualize how the shot is framed and where you want to be in the image. Imagination and a good sense of spatial awareness will help get you where you need to be. I found it helpful to form an imaginary line by using natural landmarks, and then follow that line to my intended position.
- Once everything is ready to go, set the camera to the self-timer mode (or prepare your remote trigger) and take a minute to relax and slow your breathing, since you may need to rush into position and don’t want to be huffing and puffing the entire time.
- You may want to lock the focus where you want it – if you leave the camera in autofocus, depressing the shutter can sometimes move the focal plane out of place. I normally just switched my D90 into manual focus mode once everything was set up.
- Activate the self-timer and move into position (or move into position then depress the remote trigger). Be careful not to disturb the camera system with the ‘jetwash’ created by your fins, especially if you’re vigorously swimming into the frame. If you’re using strobes with the self-timer mode, you can go review the image once they fire. If you’re shooting strictly ambient light, then it’s a good idea to over-estimate the length of time you should be holding your pose. My timer was always set at the maximum for the D90 -- 20 seconds.
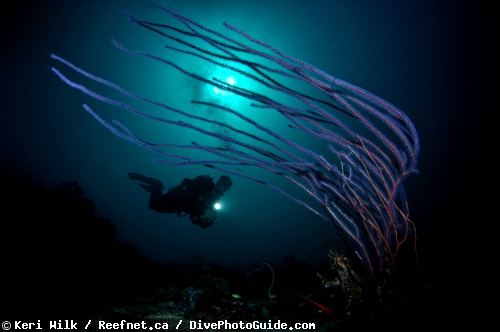
- Review the shot, evaluate your position in the frame, and then make adjustments as necessary to get the shot you intended. If you’re far enough away, and if there is enough reflected light, you can sometimes use your reflection in the dome as a positioning aid. It’s difficult enough to create “perfect” photos when you have a buddy modeling for you, so don’t expect to nail the shot right out of the gates – be patient!
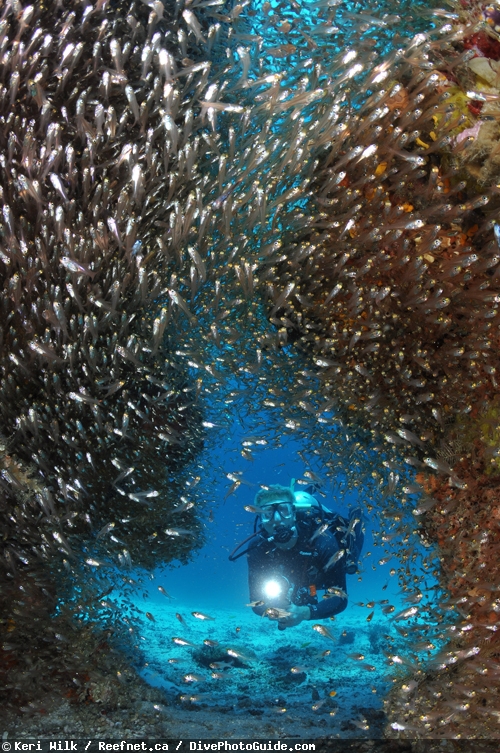
- Different types of images have varying degrees of difficulty associated with them. Silhouettes are tricky, since you usually have to swim far away in the allotted self-timer span. Also, without proper breathing control, your images may end up peppered with bubbles in the background since they tend to take a long time to disappear when pointing the camera toward the surface. I recommend that your initial attempts at self-modeled shots be those that require minimal horizontal movement to get yourself into the scene. Once you’re comfortable with the process, the sky’s the limit.
CONCLUSION
Self-modeling in underwater photos is far from practical -- my bottom time was drastically reduced; I was putting myself at greater risk by solo diving and making M-shaped dive profiles (up-down-up-down); I was producing only 1-3 usable images per dive; carrying a 10-pound tripod across my chest was a buoyancy nightmare and not the least bit comfortable. Nevertheless, this shooting method can be used effectively to create great modeling images, and is your only option when you’re stuck without a dive buddy.
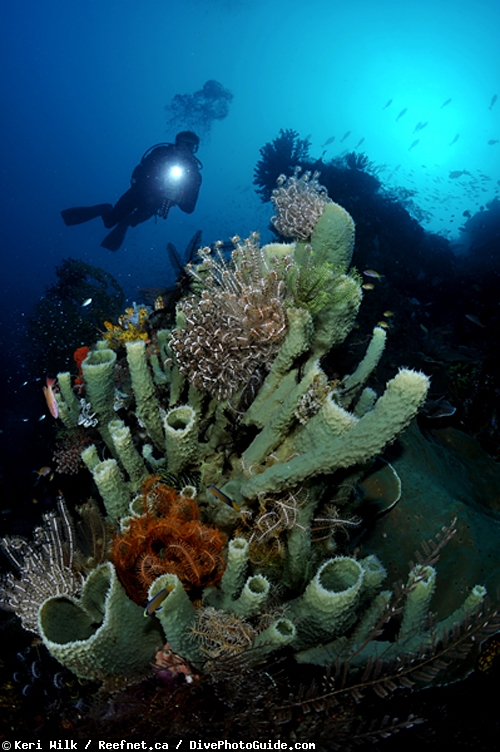
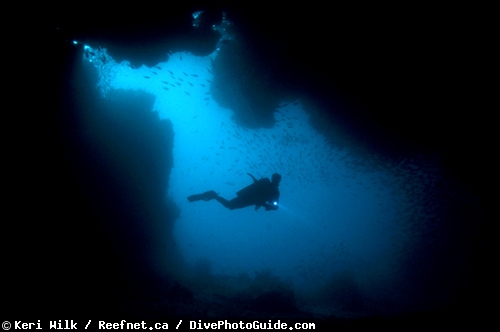
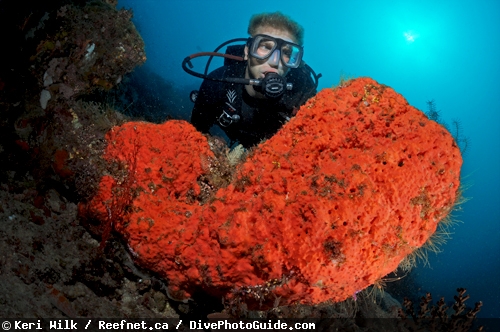
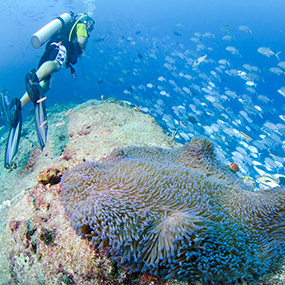
NOTE: All of the images in this article were both shot and modeled by the author using a Nikon D90 (with the 20s self-timer mode), Nauticam housing, Inon Z240 and/or Ikelite DS160 strobes, ReefNet snoots, Tokina 10-17mm lens, and Velbon CX-300 and/or Gorillapod Focus tripods.
About The Author
Keri Wilk is an engineer and underwater photographer with 15 years of experience exploring the world's oceans. His photo credits include many international awards and publication in magazines, scientific journals, books, and field guides. He currently designs new products (e.g. SubSee) and leads underwater photo expeditions for ReefNet Inc.
RELATED CONTENT
Featured Photographer
 Antarctica


