Super Macro Underwater Photography - The Definitive Guide, Part 3
Part 3 – Techniques: Lighting
by Keri Wilk
Lighting For Super Macro Underwater Photography
How you illuminate a super macro scene is arguably more important than the subject itself. For this reason, it is of paramount importance that you understand how to choose an appropriate strobe for your shooting style and have a firm grasp of some popular lighting styles.
 Strobe Choice
There are several factors that you should consider before cracking open your piggy bank for a new strobe.
Guide Number (GN)
This strobe parameter is used to help quantify the intensity of a flash corresponding to a full discharge, for a specific ISO/film speed. It is dependent on both the strobe’s beam angle and its total energy output. Accordingly, two strobes that seem very different can actually produce the same GN.
Strobe manufacturers usually specify both land and underwater GN values - the latter being less accurate or useful, since water clarity can greatly affect light transmission (typically decreases the GN by a factor of 2-4). Additionally, the published guide numbers quoted by manufacturers are often very different from their true values. On average, the true guide numbers can differ from the published nominal values by up to 25%.
How the GN relates to choosing an appropriate strobe for super macro photography is simple, as long as you understand this basic formula:
How you illuminate a super macro scene is arguably more important than the subject itself. For this reason, it is of paramount importance that you understand how to choose an appropriate strobe for your shooting style and have a firm grasp of some popular lighting styles.
 Strobe Choice
There are several factors that you should consider before cracking open your piggy bank for a new strobe.
Guide Number (GN)
This strobe parameter is used to help quantify the intensity of a flash corresponding to a full discharge, for a specific ISO/film speed. It is dependent on both the strobe’s beam angle and its total energy output. Accordingly, two strobes that seem very different can actually produce the same GN.
Strobe manufacturers usually specify both land and underwater GN values - the latter being less accurate or useful, since water clarity can greatly affect light transmission (typically decreases the GN by a factor of 2-4). Additionally, the published guide numbers quoted by manufacturers are often very different from their true values. On average, the true guide numbers can differ from the published nominal values by up to 25%.
How the GN relates to choosing an appropriate strobe for super macro photography is simple, as long as you understand this basic formula:
Guide Number=Distance×f number
To determine the minimum guide number you’ll require for proper exposure, you can enter the maximum expected strobe-to-subject distance and maximum expected f-number into this equation. For example, using my 105mm macro lens with a +10 diopter SubSee, my strobes are never more than 30cm away from the subject, and I will occasionally close the aperture all the way down to f57 (effective aperture) for maximum depth of field. The above formula then tells me that I need a strobe with GN = 0.3m X f57 = 17 to properly expose this “worst case scenario”. That being said, any mid-range strobe has enough power for shooting super macro.
If you intend to use two of the same strobes, the effective guide number for the pair is obtained by multiplying their advertised guide number by 1.4. For example, combining two GN=10 strobes is equivalent to a single strobe with GN=14.
When selecting strobes you must think about the range of photography that you’d like to shoot, not just super macro. You can use the above considerations to roughly determine the strobe that you’ll need. If cost is not an object, you may even decide to choose a different set of strobes for different types of shooting based on other factors like size.
Physical Size
Super macro subjects are often found in hard to illuminate nooks and crannies on the reef, so having a strobe which is small and maneuverable enough to tightly fit against your port can make the difference between an impossible and possible shot. However, small strobe size is usually accompanied by a lower guide number, and therefore imposes its own restrictions on applications for wide angle photography.
Recycling Time
Catching action shots or interesting behaviors requires a strobe which recycles very quickly. Also, ‘focus bracketing’ (see Section 3.23 below) wouldn’t be possible without a strobe capable of keeping up with high frame rate shooting. Waiting for a strobe to recycle with a subject perfectly framed through the viewfinder is quite possibly one of the most frustrating feelings associated with underwater photography, so do yourself a favor and get a strobe that recycles quickly.
Modeling Light (Focus Light)
If you’re using teleconverters to achieve super macro photography, then there will be a noticeable darkening through the viewfinder. For this reason, picking a strobe with a built-in focus light can be very helpful when trying to place the narrow plane of focus on the subject. However, using positive diopter lenses can help you avoid this problem altogether, since they result in no light loss.
Cost
Chances are, you don’t intend to only shoot macro or super macro. photography Shooting super macro doesn’t require anywhere close to the same beam coverage or guide number as does wide-angle photography. Pick a strobe that matches your needs. As stated previously, if cost is not an object, you may even decide to choose a different set of strobes for different types of shooting.
There are other factors that should be considered when looking into purchasing a new strobe, but covering all of them is beyond the scope of underwater super macro photography – you can read more about lighting in our upcoming underwater lighting guide.
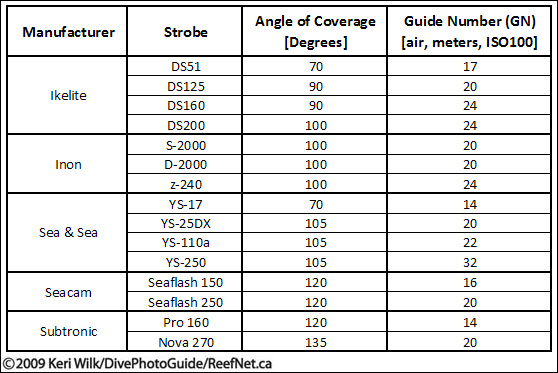
Here’s a chart showing the angle of coverage and guide numbers for several popular underwater strobes:
Lighting Styles
Lighting for super macro photography is very similar to normal macro and even wide angle underwater photography – all of the same concepts apply. However, the close proximity and physical size of most super macro subject matter can make the execution of some of the standard lighting techniques a much more daunting task. Having the appropriate gear for the job and a good understanding of each technique is vital to success. There is one thing that you need to always keep in mind: there is never a right or wrong way to light a subject… just different ways. So, use your imagination, think outside the box, and take advantage of the instant feedback that the digital era has afforded us.
The following is intended to be an overview of main styles of lighting and the applications for super macro shooting, with examples of each.
(a) Front Lighting
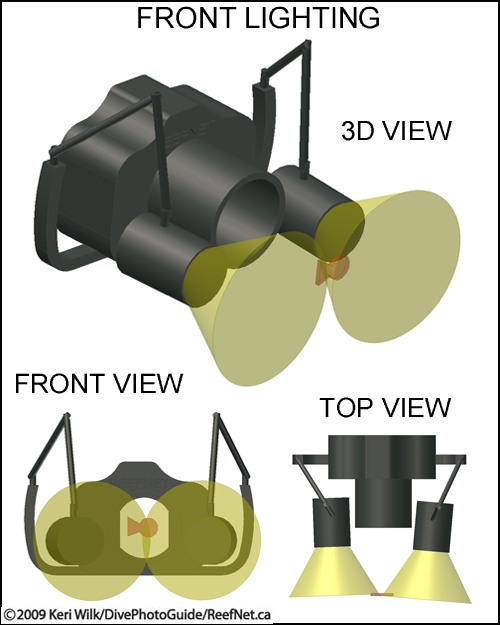
This is the type of lighting that is most common in macro and super macro underwater photography. Each strobe is pointed towards the subject, close to the lens’ axis. Shadows can be essentially eliminated using this method, resulting in a flat, uniformly lit image – useful for highlighting a subject’s colours/patterns. Although a single strobe is sufficient to produce this effect, I suggest using two or more to more effectively eliminate the shadows. A ring flash can also produce this effect.
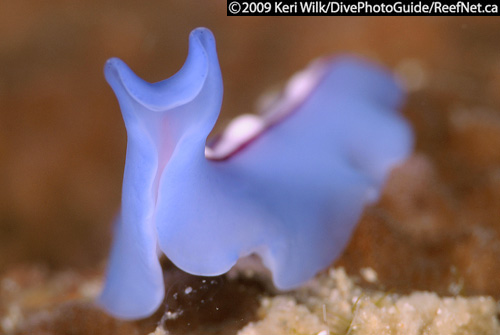
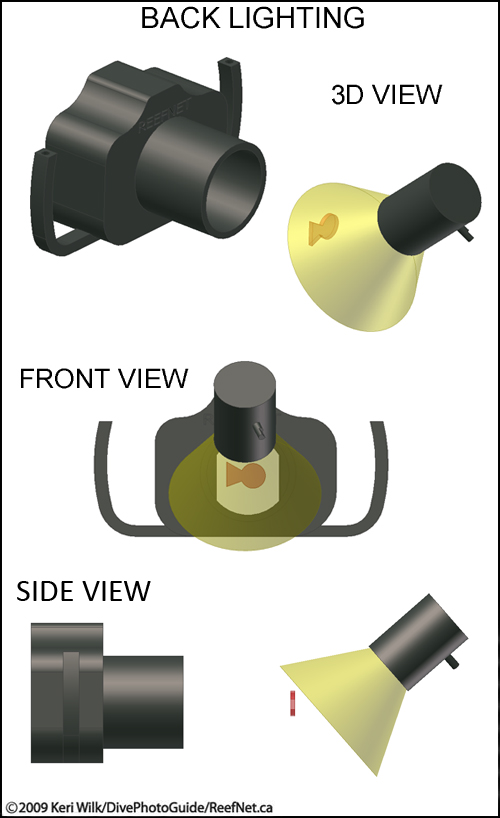
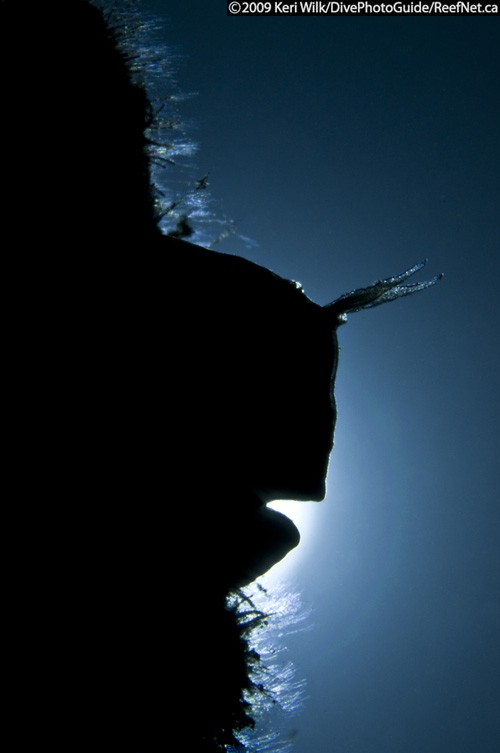
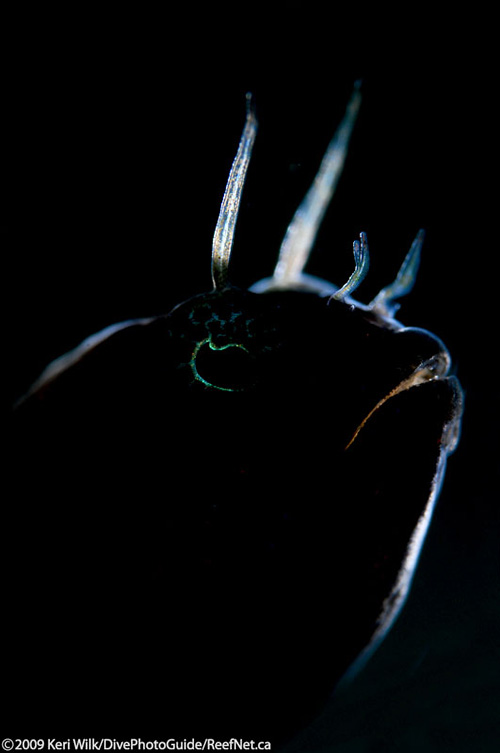
This lighting technique involves primarily illuminating the back of a subject. The strobe is positioned behind the subject and pointed back towards the camera, but should be blocked (partially or fully) by the subject. This method can produce either a solid black silhouette or a subject with highlights along its perimeter. Shooting translucent subjects with backlighting can also have interesting results, causing the subject to “glow” from the inside.
While it’s possible to backlight moving subjects with wide-angle photography, super macro backlighting is essentially limited to stationary subjects.
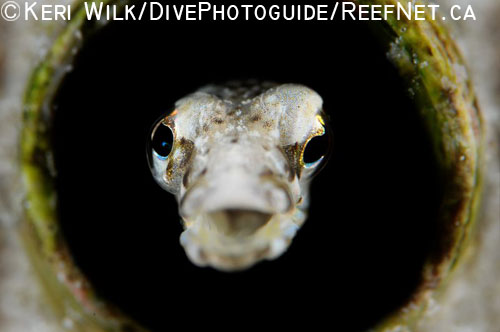
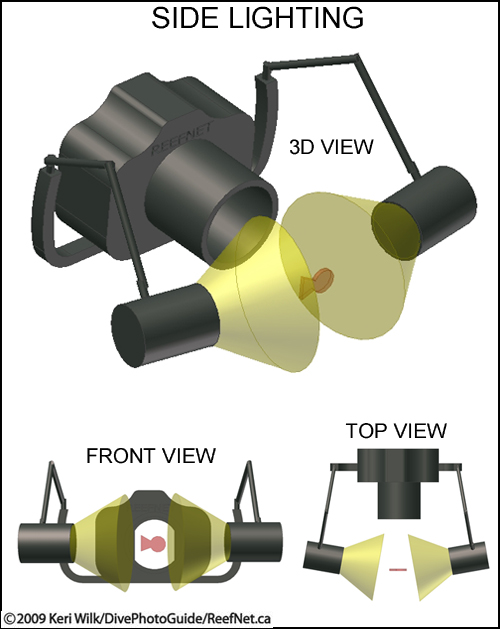
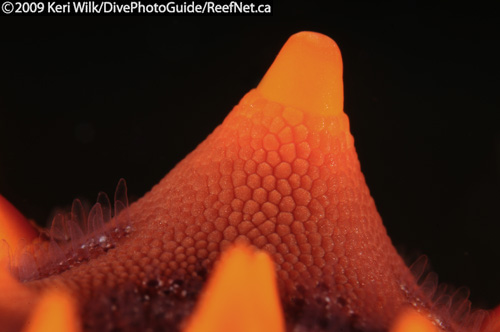
The strobes are positioned to hit the side(s) of the subject, perpendicular to the lens axis. This technique is typically used to accentuate a subject’s surface texture by casting small shadows over every elevated point. However, it can also be used to selectively illuminate subjects living in holes. This image would have had a completely different look to it, had I chosen to use front lighting – the inside of the tube remains dark since the strobes were aimed from the sides and no light entered the tube.
(d) Black backgrounds
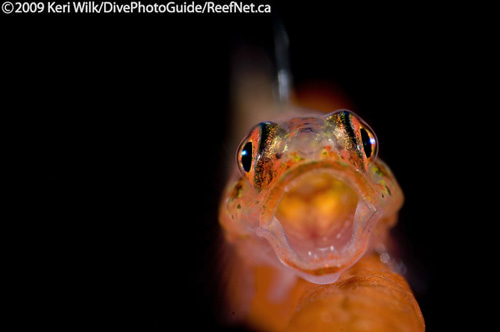
You may have noticed a common theme amongst many macro/super macro underwater images – a stunning subject in the foreground, with a black background. If you’re wondering how this type of image is achieved, it’s simple: set your shutter speed to its maximum flash synchronization speed (typically between 1/125s and 1/320s) to eliminate as much ambient light as possible, set the ISO to its lowest value (typically 100 or 200), and then adjust the aperture and flash output as necessary to expose the scene properly. However, this type of shot is restricted to subjects with open water behind them (or a distant background that won’t be illuminated by your strobe). In some cases you will be able to shoot beyond the maximum flash synchronization speed, but not all camera / housing/ strobe combinations can do so.
You may have noticed a common theme amongst many macro/super macro underwater images – a stunning subject in the foreground, with a black background. If you’re wondering how this type of image is achieved, it’s simple: set your shutter speed to its maximum flash synchronization speed (typically between 1/125s and 1/320s) to eliminate as much ambient light as possible, set the ISO to its lowest value (typically 100 or 200), and then adjust the aperture and flash output as necessary to expose the scene properly. However, this type of shot is restricted to subjects with open water behind them (or a distant background that won’t be illuminated by your strobe). In some cases you will be able to shoot beyond the maximum flash synchronization speed, but not all camera / housing/ strobe combinations can do so.
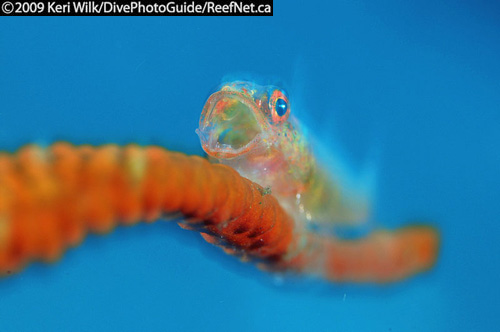
If black backgrounds don’t tickle your fancy, then balanced light super macro images just might. Rather than intentionally eliminating all of the ambient light in a shot by maximizing the shutter speed, try adjusting your exposure settings such that the background is properly exposed. Then you can gently paint the subject in the foreground with light, to give the image a more natural feel. Admittedly, this technique can’t be applied to most super macro scenes, since the miniature subject area (foreground and background) will inevitably be illuminated by your strobe(s). To use this technique effectively, look for a subject in front of blue water or distant objects, and first adjust your settings for the desired ambient light exposure of the background. Then adjust your strobes. Strobes can be in just about any position for this type of lighting technique.
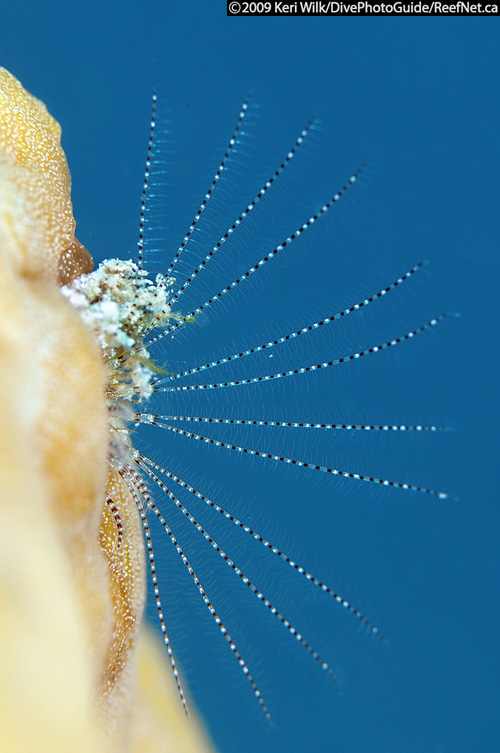
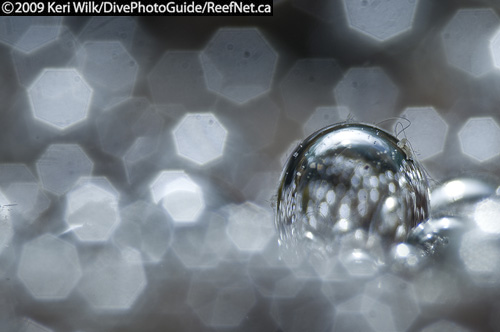
Interesting effects can sometimes be achieved by turning your strobes off and shooting entirely with available light. This approach is often used in wide angle underwater photography, but is rarely applied to macro or super macro photography. Since there is no flash to freeze movement, the successful application of this technique requires plenty of sunlight, a steady hand or camera brace, and a stationary subject.
RELATED CONTENT
Be the first to add a comment to this article.
You must be logged in to comment.
Support Our Sponsors
Newsletter
Travel with us
Featured Photographer

Sean Wu
Expert Photographer
Fashion and commercial photographer Sean Wu makes a splash for a living. He imagines, creates and then captures underwater scenes that defy trends and suspend gravity.
Wu have produced remarkable images for beauty, fashion and...
Follow Us
Sponsors
 Antarctica


